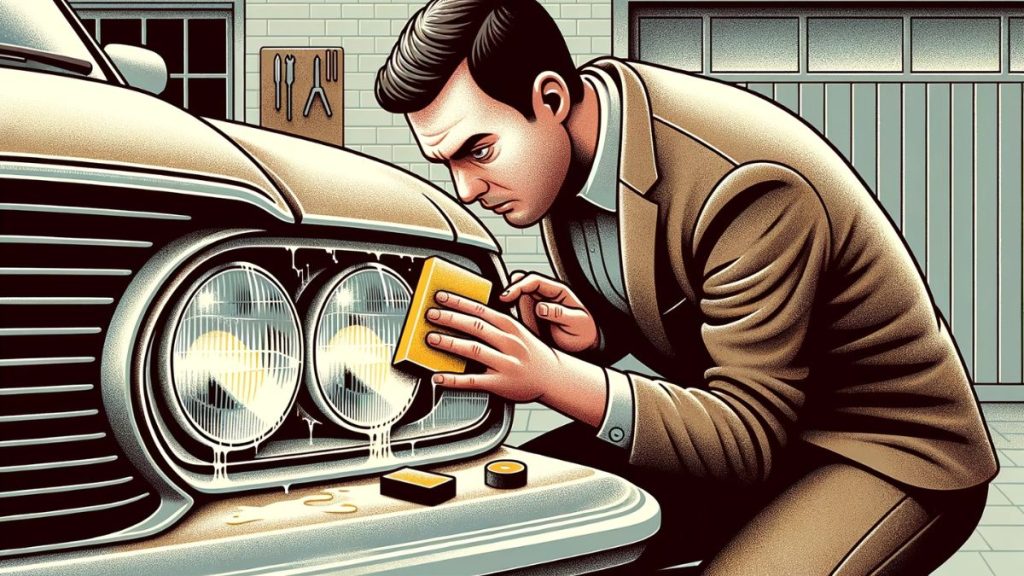
I’m seeing a ton of advice on the internet that shows people how to clean and restore foggy headlights. But let’s be honest; baking soda and lemon juice won’t help you fix oxidized headlights. In this post, I’ll show you the exact steps I use to clean and restore foggy headlights on cars.
The whole process is extremely simple and beginner-friendly because we’ll use a headlight restoration kit made for DIYers.
Key Takeaways:
- Using a headlight restoration kit is the easiest and simplest way to restore fogged headlights.
- Clean the surface and tape delicate areas.
- Wet sand headlights.
- Polish headlights and apply protection (clear coat).
- To ensure long-lasting protection, I suggest also applying paint protection film or ceramic coating to the car headlight.
How To Clean Foggy Headlights With Headlight Restoration Kit
First, I suggest that you buy this headlight restoration kit because it contains all you’ll need to successfully clean, restore, and protect oxidized headlights on your vehicle.
No products found.
Besides that, you’ll also need a spray bottle with water and a few microfiber cloths.
1. Clean the Headlights
Before you start the process of headlight restoration, headlights should be clean of any dirt. If you want, you can wash your car, but wiping headlights with soapy water and a microfiber cloth is more than enough.
After cleaning them, wipe them dry with a clean microfiber cloth.
2. Use Masking Tape To Protect Areas Around Headlights
Use adhesive tape to mask the area around the headlights. This step is important because you don’t want to scratch the paint while sanding headlights.
Just cut the masking tape into many smaller pieces and tape it around the headlights so you can’t touch the trim or paint with the sanding disc.
3. Wet Sand Headlights
Now it’s time to wet sand the area. Wet sanding removes that oxidation and fogginess from the headlights.
Oxidation and fogginess removal with 1000-grit sandpaper:
Finer sanding with 3000-grit sandpaper:
Cleaning & drying:
4. Apply a Clear Coat on the Headlights
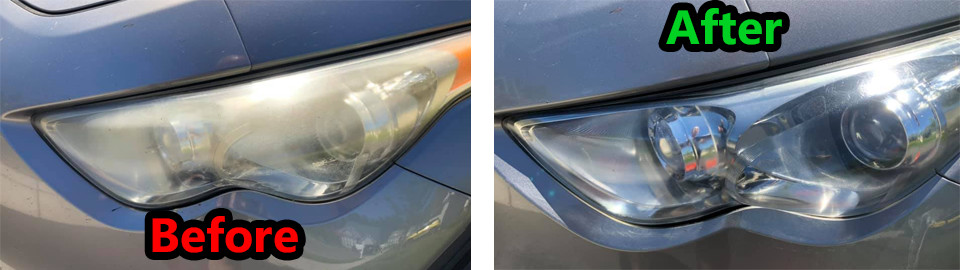
By now, all the haziness and oxidation should’ve been removed from the headlights. But they still look dull, and to fix that and also protect the headlights, you should apply a clear coat.
Steps for clear coat application:
And when you’re finished, your headlights should look something like the picture below (the “after” version, of course).
If you need additional guidance, I suggest checking out the video below. This guy uses a heavy-duty kit, while I concentrated on a medium kit that’s more than enough for most oxidized headlights. Anyway, here’s the video:
Why It’s Important To Clean Foggy Headlights
According to a AAA study, foggy (cloudy) headlights produce only 22% of the light a new headlight produces when working at full capacity.
They also said that restoring a foggy headlight will improve the amount of light by up to 70% compared to a new headlight capacity.
With the 22% that I mentioned above, you can imagine how dangerous foggy headlights can be during the:
- Night
- Sunrise
- Sunset
- Bad weather conditions (rain, snow, storm, etc.)
Those are times when we need the full capacity of our headlights. Without a good amount of light, your visibility during the drive will reduce a lot.
If your headlights are moderately foggy, you may not be able to pass the vehicle inspection and extend your car’s registration.
One day, when you decide to sell your car, potential buyers will likely offer you less than you expect because of cloudy headlights.
What Causes Headlights to Become Foggy
You may think that your headlights are foggy only because you’re driving an old car.
Well, the situation is not so simple. Yes, aging is a process that no one can stop, but there are several other reasons for foggy headlights:
Frequently Asked Questions
The time it takes to fix foggy headlights depends on your knowledge and experience. Mostly, you’ll need anywhere between 1 and 3 hours to restore them entirely. Of course, it can also depend on the level of haziness.
WD-40 may shine headlights temporarily, but it won’t fix haze and oxidation. I don’t recommend you do it.
Buy some wet sanding papers (400, 600, 800, 1000, 2000), borrow some polishing paste, and do the work. That way, you can restore headlights for under $10.
Professionals use wet sanding techniques to get rid of the haze, and then they use compounds and polishes to bring back the original shine and clearness. Lastly, they apply high-quality headlight protection, such as paint protection film or ceramic coating.
Car wax can’t clean headlights. Car wax is a paint protectant that can protect headlights from Sun, UV, and other harmful elements, but it can’t be used for cleaning them.
Wrap Up
As you can see, fixing oxidized car headlights isn’t something very hard, and by using headlight restoration kits, you can do it in less than an hour (except for the drying time).
There’s also another method that you can use to restore headlights – headlight polymerization. Which I also highly suggest, and is even easier than this method.
Now, since both headlight restoration kits promise to last for ca. 12 months, I suggest that you also do your best to protect headlights from UV rays. That way, headlights won’t become oxidized and foggy for a long time.