I often see people complaining about airbag failure after removing the front car seats. The solution is very easy, and today, I’m going to show you how you can safely remove the front car seats (and the rear) and prevent airbag failure from showing on the board computer.
The Guide on Removing Car Seats With Airbags
Here’s the step-by-step guide on how to remove car seats without causing an airbag failure. For this, you’ll need a Mechanic Tool Set.
Step 1: Park The Car In The Working Area
First things first, you should park the car at the place where you’ll work. That’s an essential step to save your time and nerves, trust me.
Just keep in mind that you won’t be able to move or turn on the car once you remove the front car seats.
Step 2: Slide the Seat Forward and Remove the Rear Bolts
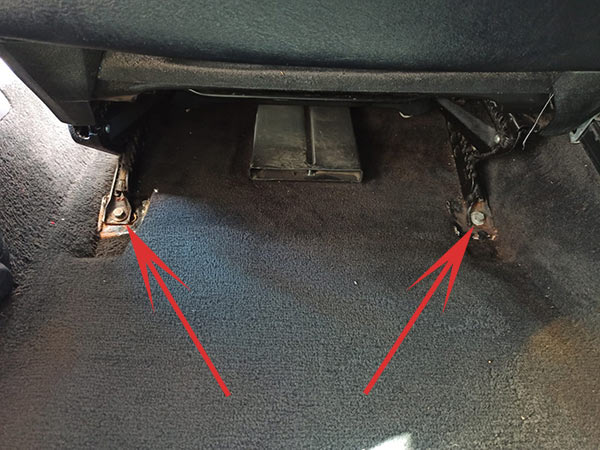
Begin seat removal by sliding the seat forward. This exposes the rear bolts near the ends of the seat rails. Some cars have plastic covers over these bolts, so you may need to remove those first.
Typically, there are two bolts, one on each side of the rail. Bolt types vary (Torx, hex head, hexagonal), so have the right tools ready.
Unscrew these bolts counterclockwise. Keep them in a safe place to avoid losing them, and then you’re ready for the next step.
Step 3: Slide Seat Backward and Remove Front Bolts

Next, focus on the front bolts. Slide the seat all the way back to access them. This area is often tight, hence the need to move the seat.
Follow the same procedure as before: unscrew the bolts and keep them in a safe place. Once done, move on to the next step.
Step 4: Disconnect the Negative (-) Cable from the Car Battery
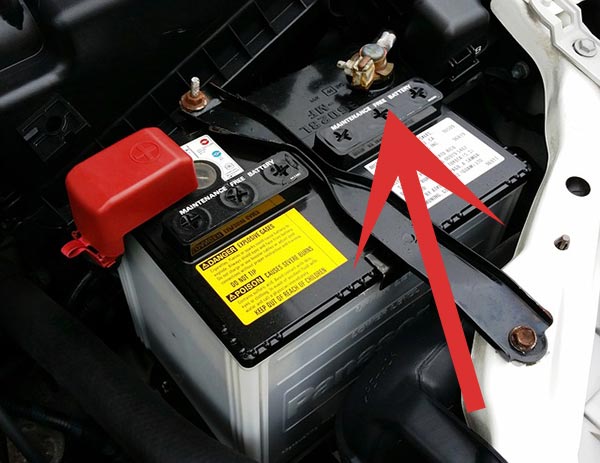
To avoid triggering the airbag or other faults, disconnect the negative cable from the car battery. This step is crucial. By detaching the negative cable, you cut off the car’s electrical supply, preventing the computer from detecting any changes you make.
The negative (-) cable is always black, making it easy to identify. Use a wrench to loosen the nut on this cable, then detach it from the battery. Most cars require a 10mm (0.4in) wrench.
You don’t need to remove the positive (red) cable. Disconnecting the negative cable alone stops the battery from powering the car. If you’re still not 100% sure how to do it, check this article out.
Step 5: Unplug the Cables Under the Seats
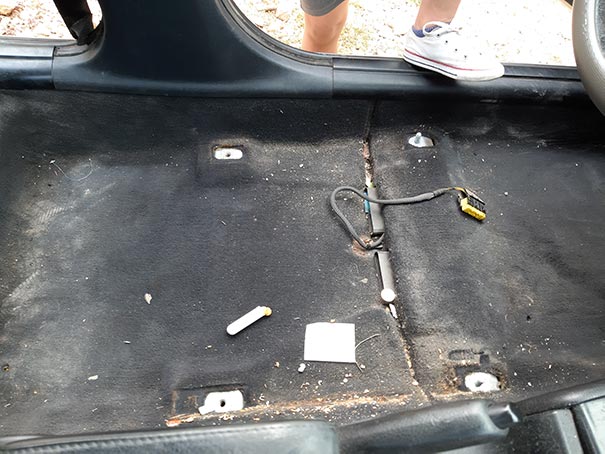
Most cars (99%) have jacks under the seats for airbag sensors and seat heaters. If you haven’t already, ensure the negative cable is disconnected from the battery.
To reach the cables, lift and tilt the seat back for full access. Then, unplug all electrical cables located beneath the seat.
Step 6: Detach the Seatbelt (Optional)
If desired, you can detach the seatbelts from each seat, although this step is optional. In some cars, seatbelt removal can be challenging. For instance, removing seatbelts in a friend’s Audi was difficult, so they were left attached. The downside is that the seat must stay close to the car.
Some cars have seatbelts attached at the bottom of the B Pillar, which means you don’t need to remove them.
If seatbelt removal is straightforward, locate and unscrew the bolt to detach the seatbelt. In some vehicles, you’ll need to remove a plastic cover to access the seatbelt bolt first.
Step 7: Remove the Seats from the Car
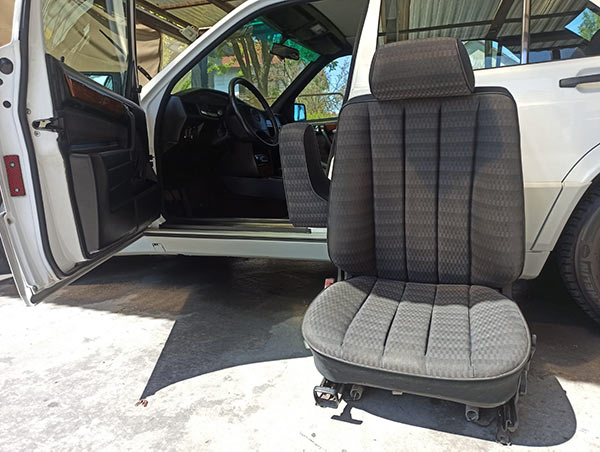
With all previous steps completed for both front seats, you’re now ready to remove them from the car. Be careful when taking out the seats to avoid scratching the car interior with the seat rails.
Keep in mind that every car model is different. In some vehicles, it’s easier to remove the seats through the front doors, while in others, using the rear doors is more convenient.
Reinstalling the Seats in the Car
Once you’ve completed your tasks, such as removing the seats and car carpets, you can start reinstalling the seats.
Simply reverse the removal process. Remember not to reconnect the car battery until all the jacks under the seats are reconnected.
A quick reminder: some car audio systems may need a PIN to unlock after reconnecting the battery. Ensure you have the radio PIN from the client before starting the seat removal process.
Conclusion
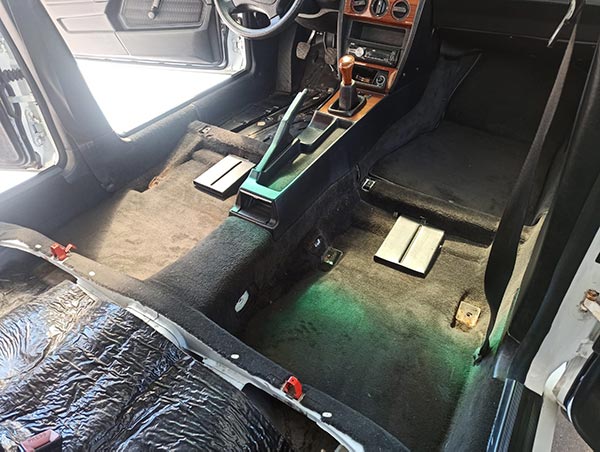
When you remove all the seats, you’ll have a clean area to work on. That way, you’ll easily reach all the “hidden” spots in the car, and you’ll get the best cleaning results. Whenever you’re deep cleaning (extracting) car seats and carpets, I suggest you remove the seats.
That was the easiest and safest way to remove car seats. I hope that you understand everything. By following these steps, you’ll reduce the chances of airbag faults appearing on the car dashboard.