How To Clean Buffing Pads? The Ultimate Guide
Car Detailing Planet is a part of Amazon Associates. As an Amazon Associate, we earn from qualifying purchases. Read our Affiliate Disclosure to learn more.

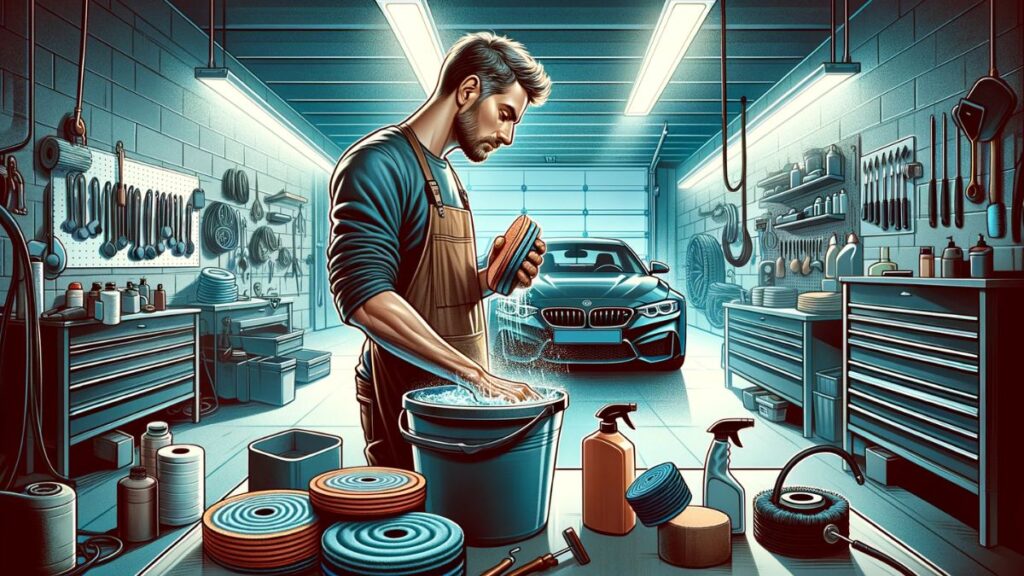
If you don’t clean buffing pads, they won’t last long, and you’ll find yourself spending money on new ones all the time. Here are the exact steps I do to clean buffing pads so they’re ready for the next paint correction task.
6 Easy Steps For Cleaning Buffing Pads
It doesn’t matter if you’re a professional detailer or a weekend warrior; cleaning your pads is essential to maintaining a high-quality finish.
Follow these steps to ensure your pads are clean and ready for the next job.
Why It’s Important To Regularly Clean Buffing Pads
First of all, if you don’t get everything cleaned off after each use, the wax and polish residue will start to build up. If you keep using a buffing pad that hasn’t been properly cleaned, you’re going to create a nice, thick layer of old wax deposits on the surface of your car.
The next time you take your buffing pad out of storage, you’re going to have a nasty mess on your hands. The wax residue will be crusted onto the surface of your car. You’ll have to peel it off slowly and painfully before you can even get started with polishing—and good luck with getting everything off before someone sees what happened!
It gets worse. The longer you let this go on, the more likely it is that you’ll end up with some fine scratches on your paint job—all because of a few minutes of negligence in cleaning your buffing pads.
So, instead of taking that risk, the best thing you can do is clean buffing pads after each use. That way, buffing pads will last longer, and you’ll always get the best possible outcome when compounding and polishing vehicles.
How Long Do Buffing Pads Last?

It’s a tough question—and one that I get asked all the time by my readers. Mostly, it depends on how you use them.
The answer to how long buffing pads last depends on a number of factors:
- How much do you use your buffing pad? If you use it every day, your pad will wear out faster than if you only use it once a week or so.
- Do you keep the pad clean? If you don’t make sure to clean your buffing pad after each use, dirt and grime might get trapped in the fibers of the pad, which can cause it to wear out faster.
- What quality are your buffing pads? Low-quality pads will wear out faster than high-quality ones. This means that if you’re buying cheap buffing pads, they may not last as long as more expensive pads made with better-quality materials.
Related: How to Choose Buffing Pads
A great rule of thumb for figuring out how often to replace your buffing pad is to give it a good look after every use. If there are signs of serious wear (like holes in the fabric), then it’s probably time for a new one! If not, then feel free to keep using it.
What Buffing Pad Cleaner To Get?
If you’re a detailer and you don’t have a good polishing pad cleaner, you’re missing out on BIG savings. Because, as most pros know, polishing pads are an investment—and a good one at that. But if you don’t keep your pads clean, they’ll wear out quickly. So why not invest in a good cleaner? Here are the best polishing pad cleaners we’ve found!
Chemical Guys Foam and Wool Citrus-Based Pad Cleaner is my top pick. This cleaner works with all types of foam and wool pads and cleans them effectively and efficiently to help you get the most life out of your investment. It also removes residue from both water-based and oil-based products so that your pads are ready for their next job. Even better: it’s highly concentrated and diluted before use to reduce waste and keep costs down.
Together with a high-quality buffing pad cleaning solution, you should also buy a brush that’s suitable for cleaning buffing pads. I suggest you get SPTA Polishing Pad Conditioning Brush, which is a fantastic tool to clean your buffing pads better than ever.
Conclusion
Now that you know the basics of cleaning your buffing pads, it’s time to get started. Just remember, with regular cleaning and maintenance, you can keep your buffing pads in good condition for years to come. That means less money is spent on replacements!
Again, here are a few key points you should always follow:
- Always use the method recommended for your buffing pad.
- When washing your buffer, be sure to clean it thoroughly.
- Be careful not to damage your pad during cleaning.
- Don’t let dirt and grime build up on them.

