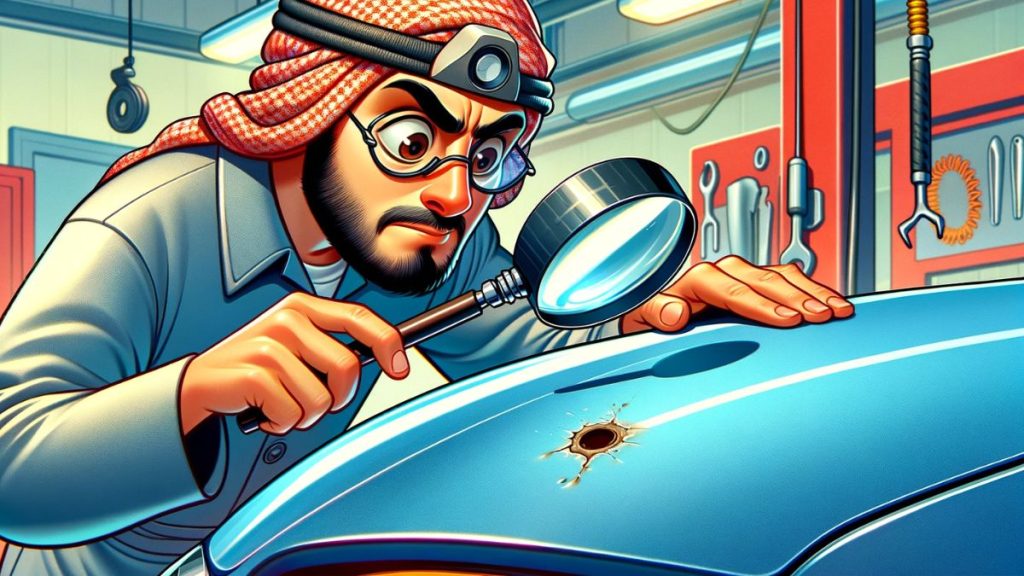
If you want to fix paint chips by yourself and save some money, this guide is for you. I’ll show you the exact steps I’ve taken to fix the paint chips on my car. More importantly, I’ll also show you some prevention tips so you can maybe prevent paint chips from even occurring on your car.
Key Takeaways:
- Paint chips should be fixed ASAP because these parts will rust, causing the car’s paint to start peeling.
- The process of repairing paint chips is slightly longer, but it’s pretty straightforward. The process includes wet sanding, cleaning, touching up, spraying a lacquer, and buffing out to make the car shiny.
- If your car often gets damaged by tiny road rocks, you should consider applying paint protection film to keep the paint protected.
How To Fix Paint Chips on Cars
Here’s my step-by-step guide on how to repair stone and rock chips on your car’s paint. First, let’s make sure that you have all the equipment needed.
Gather the following materials:
- Sanding paper (1500 and 2000 grit)
- Bottle sprayer filled with water
- Microfiber cloth
- Car paint (base coat)
- Lacquer (Clearcoat)
- Compound polish
- Applicator pad or buffing pad if you’ll do it with a machine
- Touch-up paint applicator
- Plastic paint spreader
I know the list above sounds like too much stuff, but actually, it’s not; you can buy all of it for some smaller amount of money, and you’ll be able to fix many paint chips on your car with one purchase only.
Step 1: Wash Your Car

Let’s start with a clean car. Before fixing any paint chips, we need to make sure there’s no dirt or dust on your car because these can mess up our paint job. Just wash your car like you normally would and dry it off. We want it to be super clean so our paint sticks on just right!
Step 2: Remove Rust With a 1500 Grit Sanding Paper

It’s time to tackle any rust on the chip so that the new paint will stick properly.
Here’s a straightforward way to do it:
- Look for rust around the paint chip.
- Use 1500-grit sandpaper to gently sand the rust away.
- If the rust is stubborn, spray some WD-40 or apply a rust remover.
- Only if necessary, switch to a slightly rougher sandpaper, but never below 1200-grit.
- After sanding, rinse the area with water.
- Dry the spot with a clean microfiber cloth to prepare it for painting.
Step 3: Fill the Chip with Paint

Let’s get to the fun part – painting!
Here’s how to fill in that chip:
- Grab your car’s matching paint bottle.
- You can use the brush that comes with it, but for even smoother results, consider using a tiny touch-up tool (you can find one here).
- Carefully dab the paint into the chip. Aim to fill it up without letting the paint go outside the chip area.
Remember, we’re not painting a masterpiece – just filling in a tiny spot. So, take it slow and steady.
Step 4: Smooth Out the Paint
Don’t worry if you’ve put on a bit too much paint – that’s exactly what you need to do to make sure the chip is filled in well.
Here’s how to smooth it out:
- Get a plastic paint spreader – they’re easy to find in most stores.
- With a single, swift motion, glide the spreader over the chip to take off any extra paint.
This should make the chip much less noticeable. Remember, the goal is to make the surface level with the rest of your car’s paint.
Step 5: Dry the Paint
Now, it’s time for the paint to dry.
Here’s how to handle it:
- Let the paint dry on its own, which should take about 10-15 minutes.
- If you’re short on time, gently use a hair dryer or heat gun to help the paint dry faster.
- Keep the hair dryer or heat gun moving and at a safe distance to avoid overheating the paint.
- Check if the chip needs more paint after it dries. If it does, apply another layer and let it dry again.
- Repeat the paint application and drying process until the chip is completely filled.
Step 6: Smooth the Paint with Sandpaper

After the paint dries, it’s time to make it all smooth.
Here’s how to do it:
- Take 1500-grit sandpaper for this job.
- You can sand a little beyond the chip, about 2-3 inches around it, to make sure everything blends well.
- Remember to wet sand: lightly spray water on the area before sanding.
- Sand the area for a few seconds – since the paint is fresh, it won’t take long.
- Once it’s flat and even, rinse with water and dry it off with a microfiber cloth.
This step makes sure the surface is ready for a clear coat, which will seal and protect the paint.
Step 7: Put on the Clear Coat
The clear coat is like a protective shield for your paint job.
Here’s how to apply it:
- Make sure you have a clear coat lacquer, which usually comes in a spray bottle.
- You can spray the clear coat directly onto the car or onto a plastic paint spreader, then smooth it over the paint.
- Take a clean side of your paint spreader to remove any extra clear coat gently.
- Let the clear coat dry naturally for about 30 minutes to an hour. No shortcuts this time – it needs to air dry.
This clear coat will make your car shine and keep the new paint safe. Just be patient and let it do its thing!
Step 8: Final Sanding for Smoothness
Once the clear coat is dry, it’s time for the final sanding:
- Start with the 1500-grit sandpaper. Wet sand the area to make sure it’s super smooth.
- Next, switch to the 2000-grit sandpaper for an even finer finish.
- Remember to keep the area wet – this helps the sandpaper glide smoothly and prevents damage.
When the paint feels slick and smooth to the touch, you’ll know you’re done and ready for the final touches.
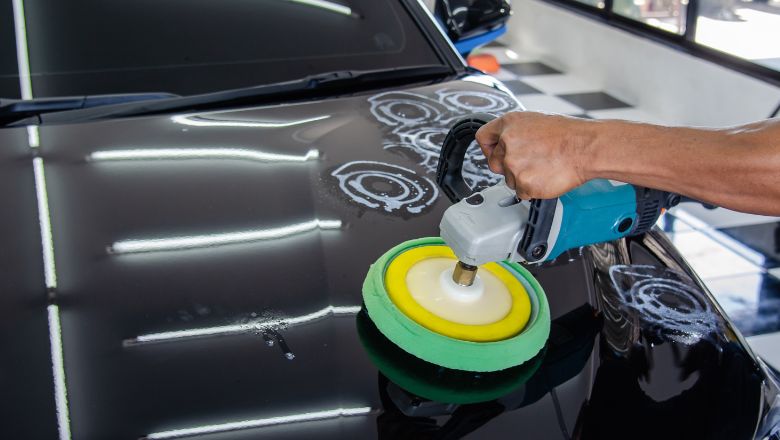
Step 9: Polish To Make It Shine
Now, the paint might look dull after sanding, but that’s okay. It’s just part of the process.
Here’s how to bring back the shine:
- Grab your favorite car polish compound and an applicator pad. You can also use a drill for more power if you have a car polisher even better.
- Before you start, dampen the buffing pad slightly with a bit of water.
- Put some polish on the pad and dab it onto the car’s surface.
- Begin buffing the area where the paint chip was.
- Once you’re done, wipe the area clean with a microfiber cloth.
And there you have it! The chip should be much less visible now. It’s not just about looks, though – this fix also keeps the clear coat from peeling and protects against rust and more damage.
If you need a guide on car polishing, I wrote all the most important steps you should make, so feel free to check that out as well.
If you still don’t have an idea how the whole process goes, I highly suggest that you check out the video below. Actually, that’s the video that I have followed to fix stone chips on my car.
Protecting Your Car From Future Paint Chips
If paint chips constantly happen to you, you should consider protecting your car against them. And there’s actually only one thing you can do to prevent paint chip damage on your vehicle fully: paint protection films.
While waxes and ceramic coatings may make the paint slightly slicker, reducing damage from road rocks, they can’t stop the rock from hitting the paint. That’s why paint protection film is the best choice.
Since applying paint protection film to the whole car can be pretty expensive, I suggest that you only apply it to the following areas:
- Front bumper.
- The hood.
- Side view mirrors.
- Roof.
That’s where most paint chips occur, and by protecting those areas, you’ll probably get rid of paint chips forever.
Related: