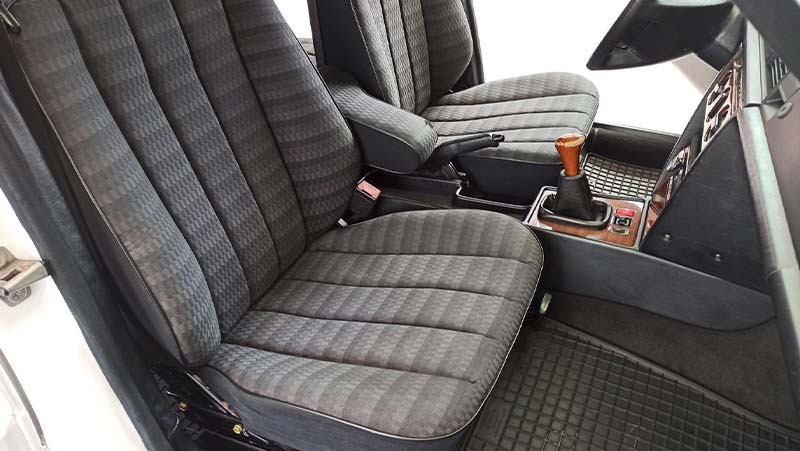
In this article, you will learn how to clean cloth car seats. Car seats are the most exposed to all spills, oils, dust, grime, and other dirt. And when you have cloth car seats, they tend to soak all of that very quickly.
I will also share some additional advice to help you maintain your seats and keep them clean more effortless, so make sure to follow all the steps.
Key Takeaways:
- Remove the seats, if possible.
- Thoroughly vacuum the seats to remove loose dirt and debris.
- Spray the seats with a fabric cleaner.
- Use a brush to agitate the seats and loosen dirt.
- Extract the seats with a vacuum to remove the cleaning solution and dirt.
- Wipe the seats with a microfiber towel to remove any residue.
- Allow the seats to dry completely before using the car again.
- Use a fabric protectant to help prevent future stains.
- Avoid using harsh chemicals, such as bleach or ammonia, as they can damage the seats.
How To Clean Cloth Car Seats – The Guide

Here is what you’ll need to clean fabric car seats and make them look and smell like new again.
Products:
- Fabric and upholstery cleaner
- All-Purpose cleaner
- Fabric and upholstery protector
- Interior detailer
Tools:
- Wet and dry vacuum
- Extractor vacuum
- Drill brushes (or hand brushes)
- Cordless drill – optional
- Microfiber towels
- Mechanic tool set (optional)
- Detailing brush
Now that you know all the equipment, let’s finally start with this ultimate guide to deep clean your dirty cloth car seats.
I’m going to be very thorough here. We’re detailers, and attention to detail is what makes a big difference once you clean something. Make sure to follow all the steps to get the most out of your fabric seats.
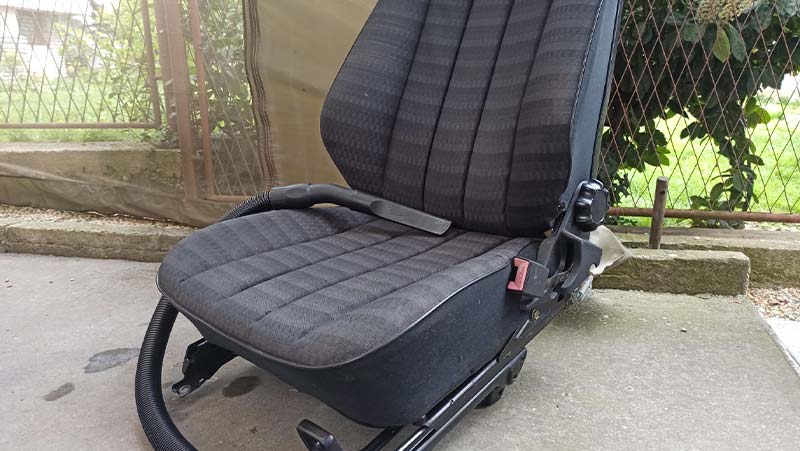
STEP 1: Remove Seats From The Car (optional)
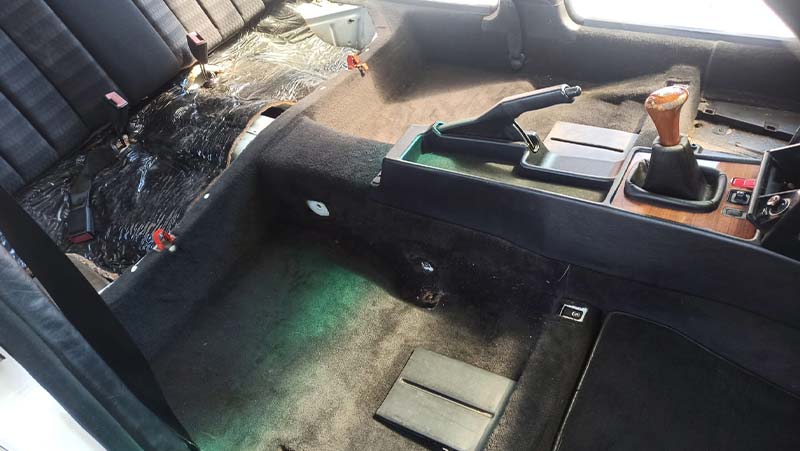
This is an optional step, but I highly recommend you do that. When you remove seats from the car, you’ll have more access to all hard-to-reach areas, and it’s going to be much easier for you to clean them.
You can keep seats in your car if you want, but trust me, that’s a more complicated way of cleaning them.

For this step, you’ll need some mechanic tool set. I recommend you check this Mechanic Tool Set (see above). Those sets are amazing; you can use them in any situation, not only for car detailing.
Here are the steps for removing car seats:
- Slide the seat front and remove two rear bolts
- Slide the seat back and remove two front bolts
- Disconnect the negative cable from the car battery
- Disconnect electric wires (jacks) from the seat
- Detach the seatbelt from the seat
- Take seats out (gently)
- Remove the back seat bench by pressing two clips and pulling the bench out
STEP 2: Thoroughly Vacuum Your Seats
Vacuuming seats in the first place is crucial. By vacuuming them, you’ll remove dirt and dust that’s stuck there. That’ll make the deep clean process easier.
Vacuum seats as much as possible. If there is dirt trapped in nooks and crannies, agitate them with a hand brush and then vacuum those areas.
Furthermore, make sure to vacuum all the hard-to-reach areas. They’re usually at the junction of the backrest and seat.
STEP 3: Spray Fabric Cleaner On The Seat

Now it’s time to start deep cleaning dirty cloth car seats. For this, you’re going to need a high-quality carpet cleaner.
Spray the cleaner onto the seat, and let it sit there for around 30 seconds. Make sure to put enough product, but don’t oversaturate seats.
STEP 4: Use a Brush To Agitate Seats

Now you can start brushing the sprayed seat. Brushing will agitate the seat fibers, which will loosen all the dirt trapped inside.
I highly suggest you use cordless drill and drill brush attachments. It’s a quick and easy way to clean car seats.
Attach the drill brush to your cordless drill, and start rubbing seats thoroughly. Take your time and be detailed.
However, if you don’t have a cordless drill, you can use hand brushes too. You’ll get the same result, but it will take a lot of effort and a lot of time to get the same cleaning results.
While you’re brushing seats, if there’s any foaming – it’s good. If there’s no foam there, spray more fabric protectant on that seat and continue rubbing it.
STEP 5: Extract The Seats With Extractor Vacuum
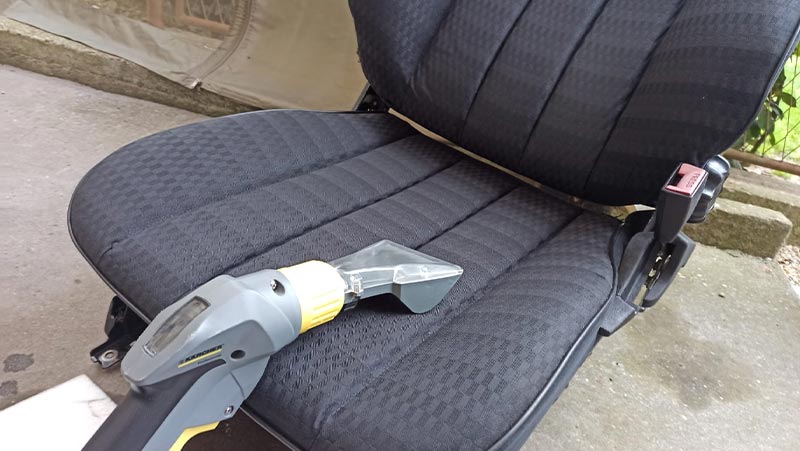
Extracting cloth car seats is the most crucial thing if you want to get the best results. Extracting them will do the following:
- It’ll take out all of the dirt trapped inside the sponge that’s beneath the top upholstery layer
- It’ll suck up most of the water so that the seats will dry quicker
Take a car carpet extractor, pour plain water in it, and you can start extracting seats. If you want, you can also use some fabric cleaner instead of plain water, but It’s not needed because we already did that.
Use a carpet extractor and thoroughly vacuum all the seats starting from top to bottom. At first, use both the vacuuming and spraying function, then make a few passes with only the function turned on.
Clean all parts of the seat – sides, back of the chair, headrests, etc.
If you don’t have a carpet extractor but you have a shop vac, here’s a great way to transform your shop vac into a carpet extractor. That’ll help you extract and clean your seats with what you have.
STEP 6: Wipe Seats With Microfiber Towel

Even though a car extractor vacuums most of the water (dirt) from the seat, I still like to wipe it off with a microfiber towel.
That way, I’ll pick up some water left on the surface, and it will speed up the drying process a lot.
Just take a clean microfiber cloth, and wipe the seat with it.
If you have plenty of time for seats to dry, you don’t have to do it. However, I think that this step speeds up the whole drying process, so I like to do it.
STEP 7: Let The Seats Dry

When you finish cleaning cloth car seats, you should allow them to dry completely.
The best way to dry car seats is to leave them outside in fresh air and wait. If you didn’t oversaturate them, they should be dry in 2-3 hours.
If you prefer to install seats back in the car just after cleaning them, make sure to open the car door until the seats are completely dry.
However, if it’s cold or very humid outside, they might take longer to completely dry. There are some great tips for you. Also, it’ll work in summer, but I specifically wrote that for wintertime because it’s harder to dry car seats when cold outside.
While the seats are drying, you can dedicate yourself to detailing the car interior.
STEP 8: Clean Seat Belts

The next thing you should always do when cleaning car seats is to clean seat belts. They’re always full of oils, sweat, and dead blood cells because you use them daily.
There are a few methods to clean them, but I’m going to show you the easiest way to remove all the dirt from your seat belts.
Here’s how I like to do it:
- Pull out the seat belt
- Place a clamp next to the belt reel
- Spray the belt with a carpet-cleaning solution
- Agitate it with a brush
- Wipe off with a clean microfiber towel
- Let them dry
If your seat belts are extremely dirty, you might want to use a steam cleaner to clean them. That’s the best way to remove tough stains from them.
However, the method I showed you above should be enough most of the time. Make sure never to use a pressure washer to clean your seatbelts.
STEP 9: Clean and Protect Plastic Parts
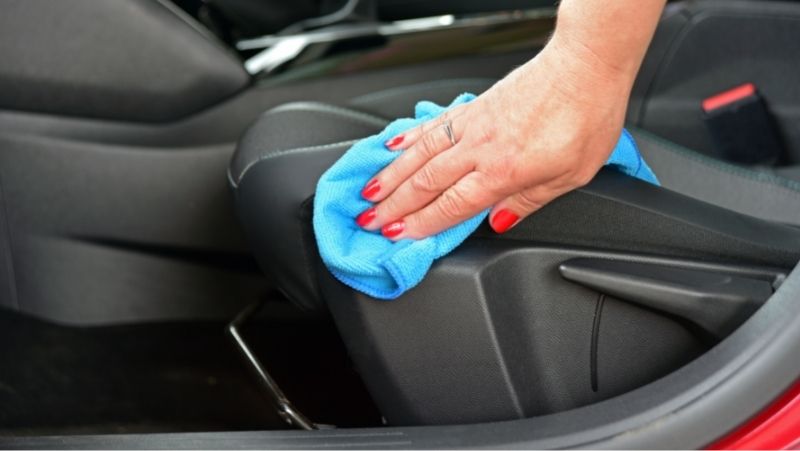
When cleaning car seats, I also like to clean and protect the plastic parts of the seats. Usually, they are on the sides of the seats and sometimes at the back of the chair.
- For cleaning, spray plastic parts (side plastics, rear plastics, seat belt buckles, etc.) with an APC, agitate them with a brush, and wipe them off with a clean microfiber towel.
- For protection, use some interior detailer (protectant), spray it on the microfiber cloth, and work it into the plastics. I like to use Meguiars Ultimate Protectant.
That should give the plastic a like-a-new look again and protect it against UV rays and other external factors that can cause fading.
STEP 10: Apply Fabric Protectant On The Seats
Once the seats are completely dry, I recommend you do this one last step before installing them back in the car. Spray them with some high-quality fabric protectant.
Fabric protectants will make a hydrophobic layer on the top of the cloth, preventing liquids from soaking in the seat.
Also, with the fabric protectant applied, the stains won’t stick to your seats, making them easier to clean later.
Just spray a light coat of fabric protectant all over your seats. Make sure not to oversaturate them.

I recommend you use this 303 Fabric Guard (check above). It’s a great and affordable product.
STEP 11: Reinstall Your Seats
The last step is to reinstall your seats back in the car. I already explained how to do it, but here it is once more.
Installing seats back to your car:
- Install rear seat bench
- Put the front seat in the car
- Attach the seatbelt to the seat
- Connect electric cables to the seat
- Connect the negative cable back to the car battery
- Install two front bolts
- Slide the seat front
- Install two rear bolts
- Install the second front seat the same way
And that’s it. Installing them shouldn’t take you more than 10 minutes, especially if this isn’t your first time removing them.
Tips For The Best Results
Here are some tips you should follow for the best cleaning results:
- Use high-quality fabric (Carpet) cleaning solution
- Take the seats out of the car, and it’s easier to work that way
- If you don’t have an extractor, you can rent it for ca. $40.
- Clean one seat at a time
- Give the seats enough time to dry
Things To Avoid
Here are some things you should avoid when cleaning fabric car seats:
- Avoid using too stiff brushes. They could damage seat fabric.
- Oversaturating seats with cleaner – they will become too wet, and it will take too much time for them to dry, and you can also damage the sponge inside the seats.
- Don’t rush; take your time and thoroughly clean them.
- Avoid removing electric wires from seats until you unplug the negative cable from the battery.
- When removing the front seats from the car, make sure not to scratch the plastics on the door jambs.
FAQs
Cloth car seats are not very easy to clean because they tend to attract dirt, stains, spills, and oils, but when following the right procedure, you can achieve perfect results.
I recommend maintenance cleaning (vacuuming and spot cleaning) once or twice a month and deep cleaning once every year.
Yes, fabric car seats stain very easily. But this can be prevented by applying fabric protectants such as 303 Fabric Protectant, which makes the fabric hydrophobic to repel stains and spills.
I don’t recommend doing that because you’ll oversaturate car seats and the sponge inside, which may lead to mold growth.
Conclusion
I didn’t think that there would be so many steps, but I tried to be as thorough and detailed as possible. By following these 11 steps for cleaning cloth car seats, you’ll get great results.
Now, your fabric car seats will look refreshed again so you can enjoy your rides.
The last thing that I recommend you to do is protect cloth car seats. That will make them easier to clean in the future, and they’ll become hydrophobic, which is fantastic.