Rubber car mats are pretty simple to clean, but just washing them with a high-pressure washer won’t be enough to make them look like new again, especially if it’s wintertime and mats are full of mud, road salt, and other contaminants.
That’s why I decided to write this guide and show you all the steps I take when cleaning rubber car floor mats.
How To Clean Rubber Car Floor Mats
What you’ll need:
- Pressure washer or a garden hose.
- All-purpose cleaner or degreaser.
- Stiffer detailing brush or drill brush.
- Non-slippery rubber dressing.
- A couple of microfiber towels.
Step 1: Preparation is Key
Before you begin, remove the mats from your vehicle. This allows you to access and vacuum the interior floor, removing any loose debris. It’s important to clean the mats outside of the car to avoid dampness and dirt inside your vehicle.
Step 2: Shake Off the Dirt
Take each mat and give it a good shake. Doing this outdoors will help you get rid of the initial layer of dirt and make the washing process more manageable. A firm shake should dislodge most of the dry dirt and debris.
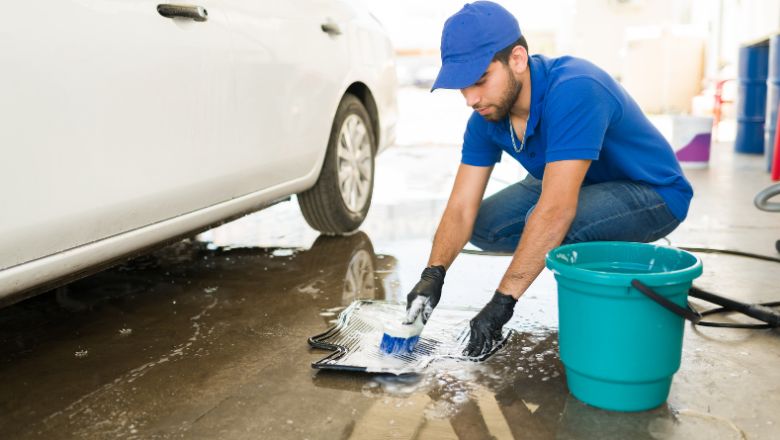
Step 3: The Power Wash
Lay the mats flat on a clean surface, or hang them up if you have hooks. Use a pressure washer to blast away the remaining dirt. If you don’t have a pressure washer, a strong jet from a garden hose can also be effective. Remember to wash both sides to ensure all dirt is removed.
Related: Best Pressure Washers For Car Detailing
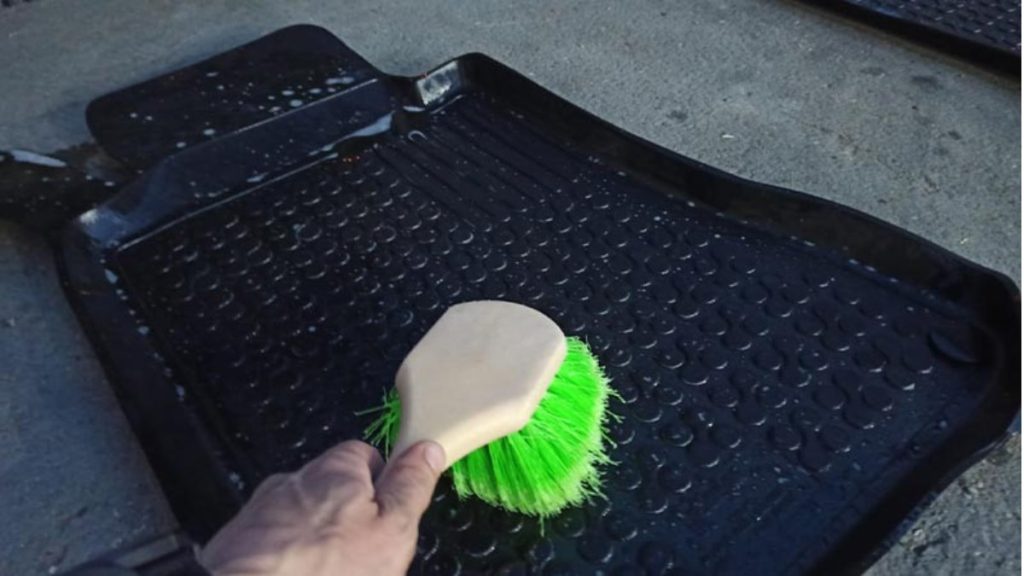
Step 4: Deep Clean with Scrubbing
Spray an all-purpose cleaner generously over the surface of each mat. Using a stiff brush, scrub the mats to work the cleaner into the dirt and stains. For a deeper clean, a drill brush attachment can be used to save time and effort. Once scrubbed, rinse the mats thoroughly.
Step 5: Drying the Mats
After rinsing, use a microfiber towel to absorb excess water and help lift any remaining dirt. Then, hang the mats up to air dry completely. If you’re short on time, a quick blast with compressed air or an air blower can speed up the process.
Step 6: Finishing Touches
To restore the mats’ original luster and protect them from future dirt and stains, apply a non-slippery dressing. Products like 303 Aerospace Protectant have worked incredibly well for me. Spray the protectant evenly and wipe the mats with a clean microfiber towel to distribute the product and buff off any excess.
Step 7: Reinstallation
Once the mats are dry and treated, place them back in your car. If they have any clips or fasteners, ensure they are secured properly to prevent slipping while driving.
If you like video guides, check out the video below:
Mistakes To Avoid When Cleaning Rubber Car Mats
When cleaning rubber car mats, there are a few common mistakes to avoid, as they can lead to unsatisfactory results or even unsafe conditions.
Here are some of the most common errors people make:
- Not removing mats from the vehicle: Attempting to clean the mats while they’re still inside the car makes it difficult to clean them thoroughly and can leave dirt on your vehicle’s carpet.
- Only rinsing with water: Rinsing the mats with water alone won’t remove stubborn stains or dirt. It’s essential to use a suitable cleaner and scrub them properly to achieve a deep clean.
- Not drying mats sufficiently: Returning wet mats to your car can lead to mold or mildew buildup and unpleasant odors. Ensure that the mats are completely dry before reinstalling them in your vehicle.
- Using tire dressings on rubber floor mats: Applying tire dressings or slippery products on rubber floor mats is extremely dangerous, as it can create a hazardous slippery surface while driving. Always use a non-slippery dressing specifically designed for rubber mats.
FAQ
You can make rubber car mats look new again by applying a non-slippery dressing such as 303 Aerospace Protectant. Avoid using slippery products such as Chemical Guys VRP or some shiny tire dressings.
Rubber floor mats are much easier to clean when compared to cloth mats. While they’re not as popular and appealing as their fabric counterpart, I prefer having them across all my vehicles, especially during the winter.
While you can clean rubber mats only by using a pressure washer, you won’t be able to clean them 100%. Some dirt particles will still be stuck to the mat, and that’s why I suggest using a brush to clean them.
Dish soap is a great cleaning solution for rubber car mats if you don’t have an all-purpose cleaner at home. Just mix it with warm water, and you’re ready to clean.
I also invite you to check my thorough guide on deep cleaning a car interior, where you can learn how to clean all other parts of the car interior.