Deep cleaning of the interior of a car is a lengthy process and takes time. But the final result is always fantastic, especially if the car is extremely dirty at the beginning. In this post, I’ll share with you the exact 10 steps I do when deep cleaning the interior of a car.
The tips below will help you to work quicker, but also to get a spotless result when you finish, and leave the car owner speechless with their “like new” car.
How To Deep Clean a Car Interior: Step-by-Step Guide
Here are all the steps you should take when deep cleaning your car.
1. Inspect The Car

I like to quickly inspect the car and see if there are any tough stains to which I’ll have to pay more attention.
I also like to write those tough stains down on paper so I don’t forget them later. For instance, I like to specifically mark makeup stains, because they’re harder to remove.
The point of this step is not to miss any spot when deep cleaning the car. Remember, we’re doing car detailing, and every detail is important.
2. Remove The Seats From The Car
After inspecting the car, it’s time to remove the seats from the car. Not all car detailers remove seats when doing deep cleaning, but it’s one of the most important parts for me.
With seats removed, you’ll have access to all those tiny spots, and also, you’ll have more space to work.
To remove the car seats, you’re going to need some tools. You’ll need a socket set, just like this DEWALT Mechanics Tools Kit and Socket Set (check below).

It’s a bit bigger socket set, but I recommend you buy it because not all the cars have the same type of bolts. Some cars have Torx bolts, so make sure to have all of them in your socket set.
How To Remove Car Seats:
I have a thorough guide on removing car seats, so make sure to check that out if you need more detailed instructions.
3. Take Out All The Trash and Belongings
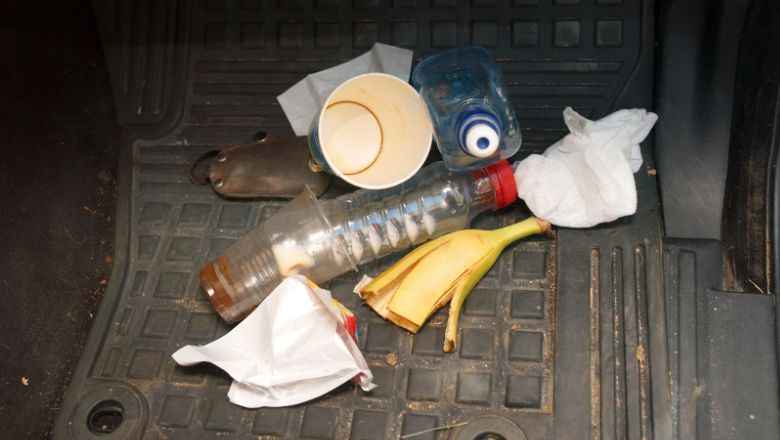
Before going any further, it’s important to take all the trash and belongings out of the car. That way, you’ll see the real condition of the car interior, and it will be much easier to work in a rubbish-free area.
I always like to take two garbage bags:
- In one bag, I only put trash from the car, such as cigarette butts, ash, chips, and all other kinds of trash that the owner doesn’t need anymore.
- In the other bag, I always put anything that could be valuable to the owner of the car (or to me if I’m cleaning my car).
It’s much easier if you sort it straight away.
4. Vacuum The Car

We got rid of larger pieces of trash, belongings, etc. And now it’s time to remove those tinier particles sitting all over the car.
Here is the vacuuming order I always follow:
Always vacuum from top to bottom. This method ensures that dirt from the upper sections doesn’t fall below, saving you the effort of multiple rounds.
5. Deep Clean The Seats

Now it’s time to deep clean car seats. If you have fabric car seats, you should shampoo them, and if you have leather car seats, you should clean them with dedicated leather cleaners.
You should always start deep cleaning from top to the bottom. Also, work in smaller areas, don’t clean the whole seat at once.
Deep Cleaning Fabric Car Seats:
If you need a complete guide on deep cleaning car seats, check it out here.
Deep Cleaning Leather Car Seats:
6. Deep Clean The Floor Mats

Cleaning floor mats is pretty easy. You should do the same thing as with the seats.
However, if you have a pressure washer – you’re at a big advantage. A pressure washer will help you to clean those tough stains that are usually stuck onto the floor mats.
Steps To Clean Fabric Floor Mats:
Steps To Clean Rubber Floor Mats:
Rubber floor mats are extremely simple to clean, and it’ll take just a few minutes to deep clean all of them.
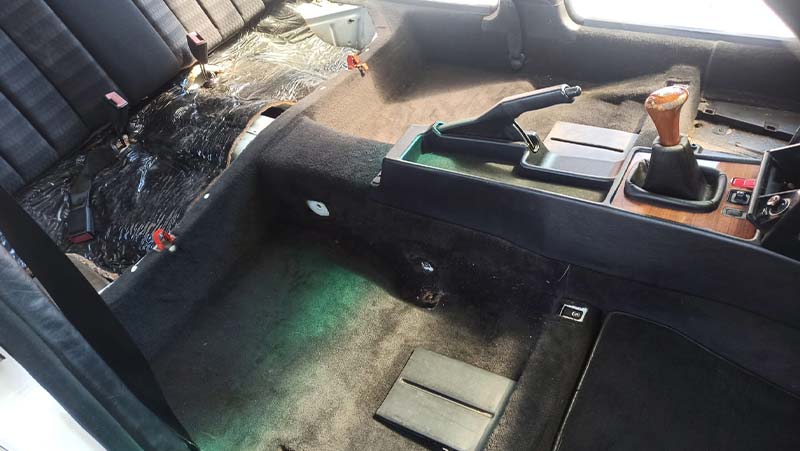
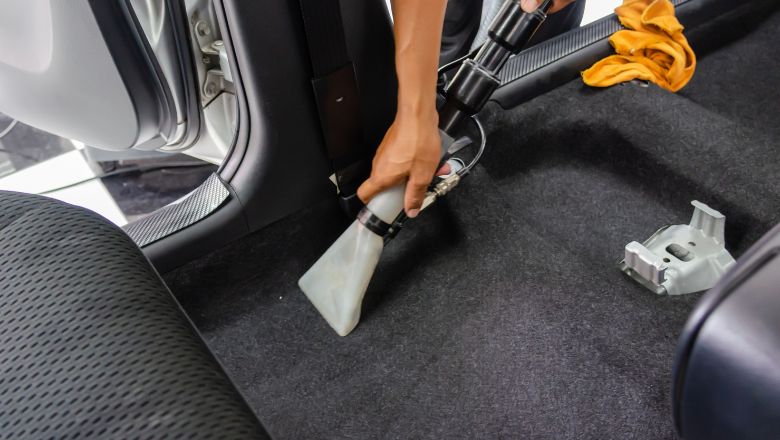
7. Deep Clean The Carpets
Car carpets are usually the dirtiest part which almost always has some tough stains such as blood stains, wine, food stains, pen stains, pet hair, etc.
If you have a car carpet extractor, do the same thing as with the seats. The only difference is that you should use a stiffer brush. Carpets aren’t as sensible as car seats, and a stiffer brush will help you clean those stains more easily.
Here is my step by step guide on deep cleaning car carpets, so feel free to check it out if you need every single step explained.
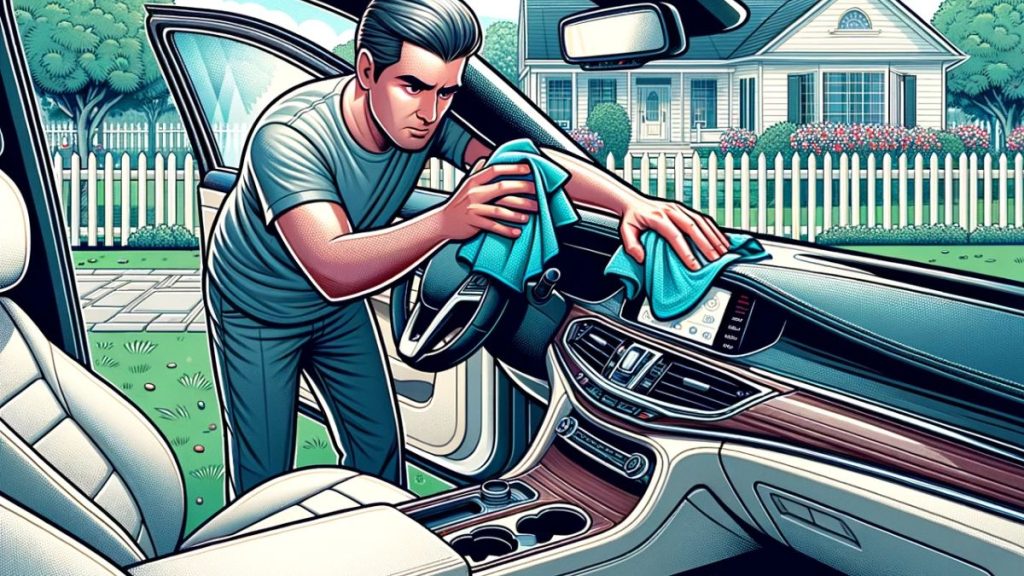
8. Clean All The Plastic Parts (Doors, Dashboard, etc.)
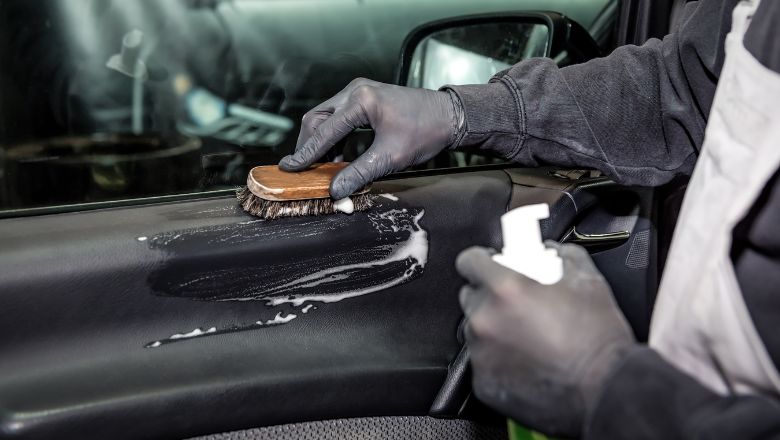
When it comes to cleaning plastic parts such as the dashboard, doors, steering wheel, gearbox, etc., it’s pretty simple.
Again, always start from the top to the bottom. I like to clean car doors first and everything around them (car thresholds), and then switch to the dashboard, steering wheel, gearbox, armrest, etc.
Here are the steps to follow:
Some people just spray APC and immediately wipe it off with a rag, but I like to agitate the area with a brush. You’ll get much better results by doing this since brush will clean every single pore from the plastics.
Repeat the process or use a steam cleaner if there are some extremely dirty areas. Check my recommendation on the best steam cleaners for car detailing. Steam cleaners will easily clean any stains, and you’ll get the best results possible.
9. Apply Dressings and Protectants

Not everybody does this when doing a deep clean of the car interior. Dressing and protecting all the plastics in the car is very important so they look even better – like new again.
Also, applying some protection will protect everything from the harmful effects of the sun, which is very important if you want to keep your car in the best condition as long as possible.
In my opinion, Meguiar's Ultimate Protectant is the best choice because you can use it on vinyl, plastic, and rubber parts of the car. It restores the original look and also protects from UV rays, heat, and even light scratches.
10. Put an Air Freshener In The Car
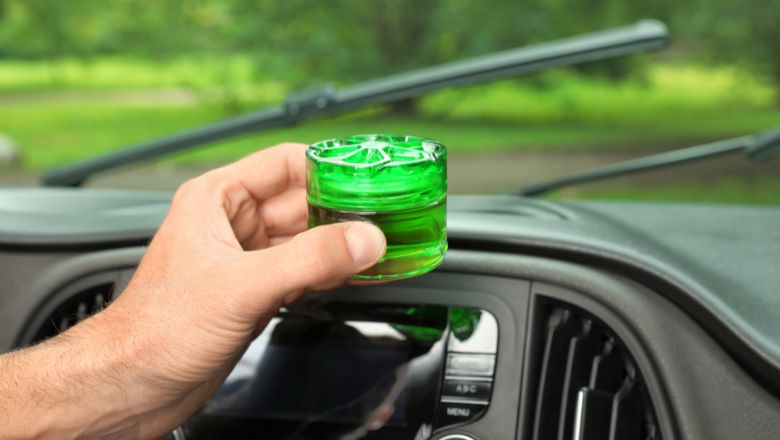
After the whole job has been done, it would be a shame not to put some nice-smelling air freshener in the car.
I always use air fresheners in jars because they’re safe, and they release the scent very slowly, lasting for a month or longer.
While an air freshener won’t improve the appearance of the car, it’ll surely make the whole car interior feel much better.
Don’t Rush – The Golden Rule of Deep Cleaning Cars
Just a quick tip: I want to tell you that you shouldn’t care about the time you spend detailing a vehicle, especially when deep cleaning the inside of the car.
Always try to do your best, even if it will take an hour or two more. Especially if you’re a weekend warrior like me and you’re not doing this for money.
Of course, if you’re starting a car detailing business, time is money, and you will speed up with time and experience. But don’t rush at the beginning, learn how to do the job properly, and after 5-10 cars, your speed will improve a lot.
I didn’t mention anything about cleaning the car headliner because most people don’t need to clean it, and sometimes it’s better not to touch it. But if your car headliner is dirty, you might want to check my guide on cleaning car headliners.
Related: