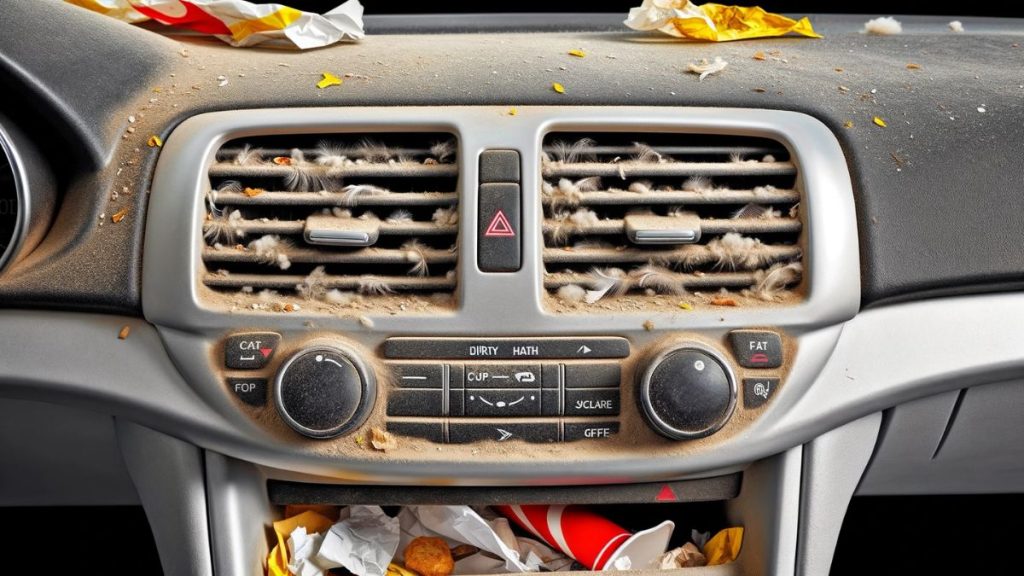
How To Clean Car Air Vents: A 3-Step Guide
Car Detailing Planet is a part of Amazon Associates. As an Amazon Associate, we earn from qualifying purchases. Read our Affiliate Disclosure to learn more.
Many people find cleaning car air vents tricky because they’re always dusty, no matter how hard you try to clean them. In this post, I’ll show you the way I clean car air vents so they’re always nice and clean, like the first day.
Steps For Cleaning Car Air Vents:
- Vacuum the vents with a brush vacuum attachment.
- Apply an all-purpose cleaner and agitate with a brush.
- Wipe away residue by using a microfiber cloth, then dry with a detailing brush.
- For extremely dirty air vents, use a steam cleaner.
3 Steps for Cleaning Car Air Vents

Ensuring your car’s air vents are clean is not just about aesthetics; it’s about maintaining the air quality in your vehicle. Here’s an efficient and effective method to get those vents looking and functioning at their best.
What You’ll Need:
- A vacuum cleaner with a brush attachment
- High-quality All-Purpose Cleaner (APC) or an interior cleaner
- A couple of microfiber towels
- Two long-bristle hand brushes (one very long and one thicker for different vent sizes)
Step 1: Vacuum the Vents
Kick off the process by vacuuming the vents. This initial step is crucial as it removes the loose dirt and debris that’s built up over time.
Attach a small brush or crevice tool to your vacuum cleaner to gently dislodge stubborn particles. Remember, the key here is a gentle touch to avoid any damage to the delicate vent structures.
Step 2: Apply APC and Agitate with the Brush
Next, take your longer brush and lightly spray it with your an all-purpose or car interior cleaner. This approach ensures you’re not oversaturating the vents and potentially damaging the internal components.
With the detailing brush dampened (not dripping), work it into the vents. The goal is to reach deep into the vent slats, moving the brush in various directions—up, down, and side to side—to tackle all the hidden nooks and crannies.
The long bristles are your best friend here, doing the heavy lifting to remove hidden dirt and debris.
Step 3: Wipe Away Residue and Dry
After the agitation step, some cleaner agent residue will likely remain. Here’s where your microfiber towel comes into play.
Gently wipe down the vent slots and surrounding areas. Microfiber is excellent for this job—it’s soft, effective, and won’t scratch the surfaces.
Once you’ve removed the majority of the moisture and cleaner, take your second, dry brush and go over the vents once more. This will pick up any leftover dampness and ensure the vents are completely dry, safeguarding against any mold or mildew.
If you don’t have car detailing microfiber towels, make sure to check my recommendation.
Extra Tip: Tackling Extremely Dirty Vents
If you’re faced with vents that are caked with grime, a steam cleaner can be a game-changer. Before you start with the vacuuming, give the vents a careful steam treatment. Keep the steam cleaner at a safe distance to prevent damage.
Recommended: Best Steam Cleaner For Cars
The steam will loosen the tough dirt, making your vacuuming and brushing steps even more productive. Here’s a video that shows how easy it is to clean car air vents with a steamer:
How To Remove Bad Odor From Car Vents?
After you have successfully cleaned car vents, there might still be some bad odors coming out of them. Although this is a pretty common problem, it’s easy to fix it.
If you’re a professional car detailer, this is a great way to earn some extra money by adding this option for your clients.
For this, you’re going to need some high-quality odor remover. I recommend you use the Turtle Wax Odor-X Multi-Surface Cleaner (check below).
Follow these steps to flush the AC system:
- Turn on the car, turn the AC, and press the Recirculation button
- Close all the windows
- Put the can between the front seats – usually, the armrest is the best position.
- Open the can, and push it – it will lock automatically.
- Close the car doors, and let it work for 15 minutes.
After 15 minutes, you have an odor-free car that smells great. And air vents are entirely cleaned from any bad smells.
Also, don’t forget to remind your clients to change the cabin filter. I realized that many people don’t change it often enough, and usually, it’s the most common reason for bad smells coming out of air vents.
The Importance of Cleaning Car Air Vents
Cleaning your car’s air vents is an essential part of maintaining a comfortable and healthy driving environment.
Here are key reasons why it’s important to clean your car air vents regularly:
- Improved Aesthetics: Dirty air vents can ruin the overall look of your car’s interior. Regular cleaning keeps your car looking fresh and well-maintained, ensuring that you feel proud every time you hit the road.
- Preserving Car Components: Over time, the buildup of dirt and grime can cause the plastics in your air vents to fade or become discolored. Cleaning the vents helps preserve their appearance and prevent potential damage.
- Health Benefits: Dust, allergens, and bacteria can accumulate in your car’s air vents, negatively impacting your health. Regularly cleaning the vents reduces the risk of respiratory issues and ensures a healthier driving environment.
- Odor Elimination: Smoke and pet odors often linger within air vents, leading to an unpleasant smell in your car. Cleaning the vents helps remove these trapped odors, providing a fresher and more enjoyable driving experience.
Even if we forget about the car’s look and the bad odor, we can’t forget about our health.
It’s essential to clean the vents properly. That way, riding is entirely safe for your health and won’t cause any respiratory problems or allergic reactions.
Related topics:

