Prepare for a lot of reading and learning because today I’m sharing with you my most detailed guide on how to wash a car the right way. By following tips and tricks in this post, you’ll learn the proper way of washing cars, so you can wash cars like a real car detailer.
How To Wash a Car: Step By Step Guide

Before you see the exact steps, I need to show you all the required equipment. As I already said, I’ll be very thorough in this article, so I’ll mention every single piece of equipment that you’ll need.
ESSENTIAL EQUIPMENT AND PRODUCTS
- Water source (a hose)
- Two or three washing buckets with grit guards
- Microfiber wash mitt
- Microfiber towels for glass
- Drying microfiber towel
- Wheel and tire cleaner
- Wheel cleaning brush
- Wash soap (ph-neutral)
- Car glass cleaner
OPTIONAL EQUIPMENT
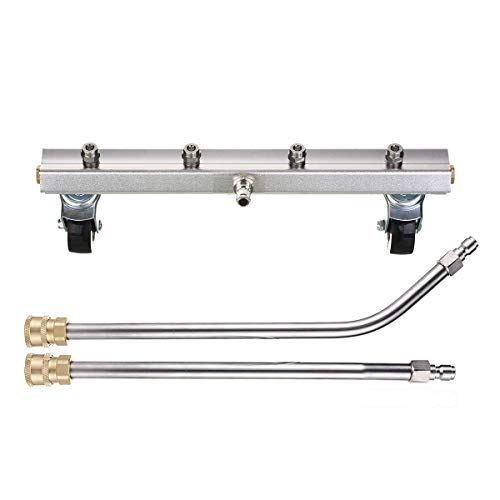
- High-pressure washer
- Snow foam (ph-neutral)
- Snow foam tank (you usually get this with pressure washers)
- Underneath car cleaner
- Tire shine
- Car wax or some other paint protectant
- Applicator pad for tire shine
- Applicator pad for wax (you can use a microfiber towel too)
As you can see, I mentioned both essential and optional equipment. For the best cleaning results, I suggest you get all of these.
However, if you’ll stay within the essential equipment, make sure to skip the snow foam step then.
No products found.
If you don’t have the equipment, I suggest you get this No products found., where you’ll get everything you need. You’ll even get the foam gun, so you can snow foam your car without a pressure washer (even though I highly suggest having a pressure washer).
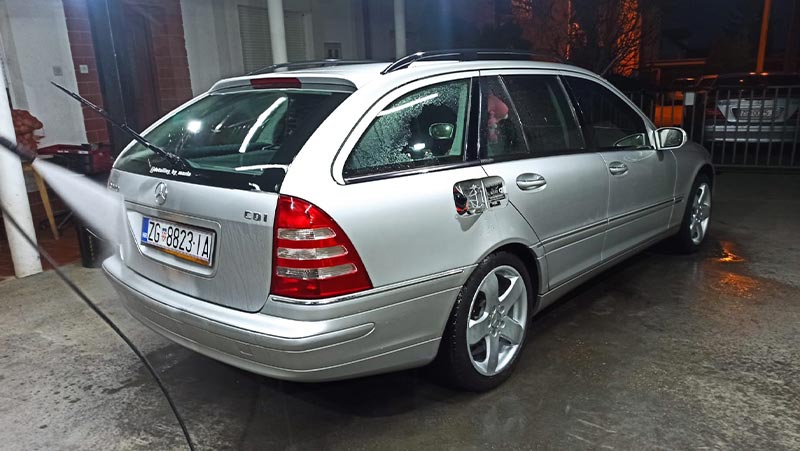
1. Park The Car In a Shaded Area

Before you start washing the car, you should move it away from the Sun. I know that it’s hard to move from it entirely, but try to find some shaded area.
If you don’t have a spot to hide, wash your car earlier in the morning or later in the afternoon. You can even wash your car at night, but make sure to have proper lighting.
By washing your car in direct sunlight, water and soap will dry too quickly, and it can cause watermarks on the paint.
2. Pre-Rinse The Car
Your first step should always be pre rinsing the car. When you pre-rinse your vehicle, you’ll clean most of the dirt straight away, and you’ll loosen the rest of the dirt.
The best option is to pre-rinse a car with a high-pressure washer since it’ll remove more dirt than a typical hose. However, if you don’t own one, doing it with a hose will be acceptable too. It’ll just take some more time. Ensure thoroughly spraying off seams and cracks since plenty of dirt (leashes, etc.) hides there.
Pre-rinsing the car removes the majority of the dirt and large junk that’s on the vehicle. That way, you won’t grind those large specks of dirt once you do a contact wash.
3. Clean The Rubber Floor Mats (if you have them)

After the initial pre-rinsing, I always wash rubber floor mats. If the car has upholstery floor mats, I don’t do it as a part of the external car wash.
Washing rubber floor mats is very simple:
- Pre-rinse them with a hose or with a pressure washer
- Spray some APC (All-purpose cleaner)
- Agitate it with a brush
- Rinse with water again
- Hang them somewhere to dry
Some people consider it as a part of internal car cleaning, but as I already said, I do it in external washes too.
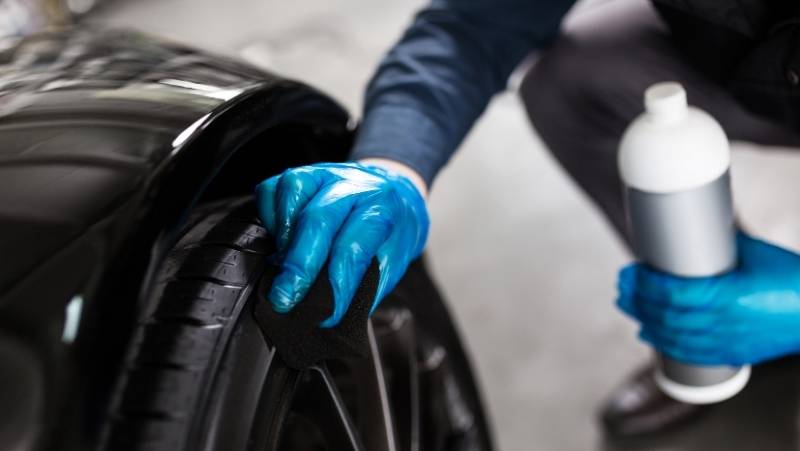
4. Wash The Wheels, Tires, and Exhaust Tips
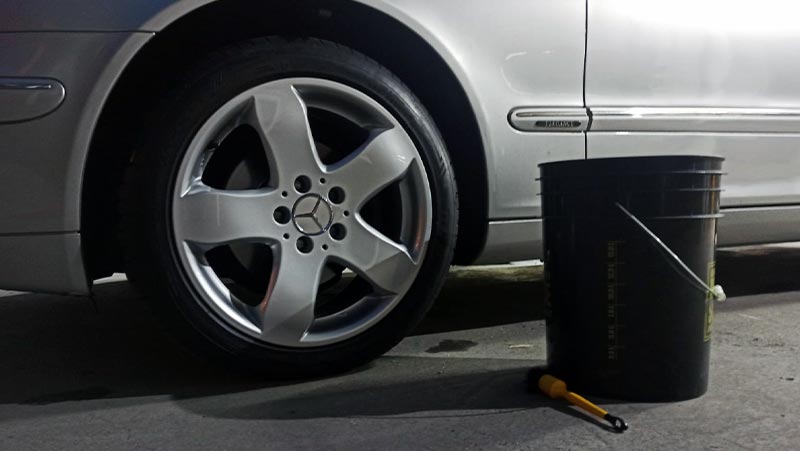
Before proceeding to the whole car, I always like to wash the wheels first. Wheels are usually the dirtiest part of your car. They contain so much brake dust and metals that can scratch your paint if spread over it.
Check out this Complete Guide on Detailing Car Wheels and Tires. It’s a step-by-step guide so you can learn everything in details.
Use a wheel cleaner, spray it on the wheels, let it sit there for 20-30 seconds, and start agitating it with a detailing brush for the wheels.
Don’t forget to clean hard-to-reach spots with a wheel brush (rear side of the wheels).
I also suggest you use one bucket with soapy water so you can clean your brush. Remember, our goal is not to scratch the paint and get the best results.
Every few passes, pour your wheel brush into a bucket and remove all the dirt and brake dust from it, then continue to clean the wheels.
When you finish, rinse the wheels with a pressure washer or with a hose.
After cleaning wheels and tires, you should also clean exhaust tips if they’re visible on your vehicle. Just use some wheel cleaner, spray them, brush them with a wheel brush, and rinse them off.
5. Wash Underneath Your Car

Many people forget about it, and it’s one of the most important things to prevent your car from rust. During the summer, you should wash it once every two months, and during the winter, I like to do it twice a month.
Cleaning the undercarriage of your car is safe if you do it properly, and here are two ways for doing it:
- Rinse the undercarriage thoroughly with a hose or with a pressure washer. If you do it with a pressure washer, make sure not to point it directly, you don’t want to damage something.
- The even better option is to buy an undercarriage cleaner. It’s the safest option, and you’ll get the best cleaning results.
When you’re washing the undercarriage of your car, make sure to also clean the area around the wheels (however, I do it when I’m cleaning the wheels, but you can do it in this step too).
If you want to keep your car rust-free, you should do it. All the road dirt and grime stick to the undercarriage, and with time, cause rust and damages car parts. Here’s the detailed guide for washing the car’s undercarriage.
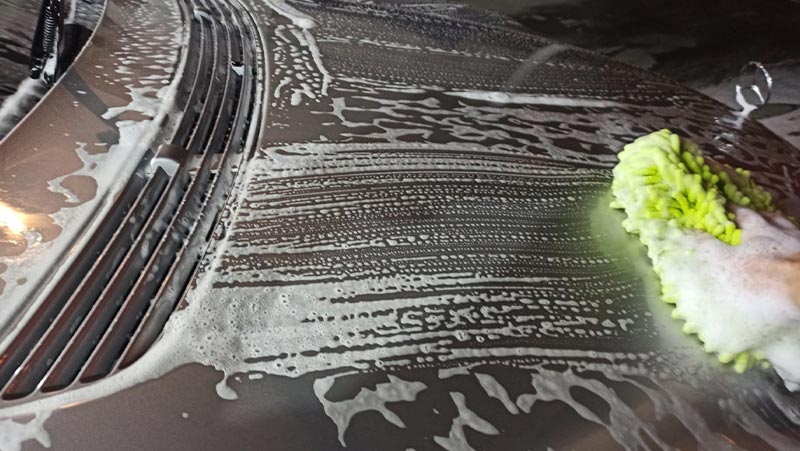
6. Pre-Wash With Snow Foam

Pre-washing is a non-contact car washing that detailers use to remove as much dirt as possible from the car. Pre-washing is obligatory if you want to prevent any swirl marks and scratches while washing your vehicle.
Add snow foam to a snow foam cannon, mix it with water, attach the tank to the pressure washer, and spray the whole car with it.
Don’t forget to follow the guidelines on snow foam bottles. Every manufacturer uses different dilution ratios. Also, make sure to use ph-neutral snow foam unless you have some waxes or sealants to remove from the car paint.
In seconds, you’ll see how it loosens all the dirt and the grime. You should let it dwell for a while, and in the meantime, do the next step.
7. Use a Brush To Clean Intricate Areas
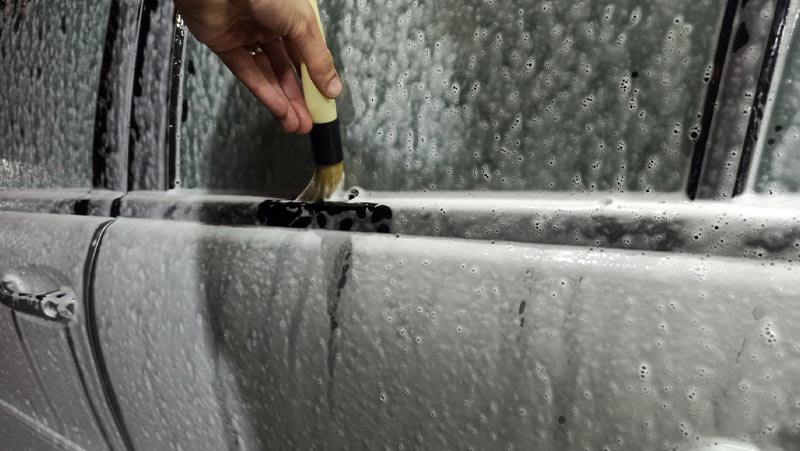
While the snow foam dwells, you should take a soft detailing brush and clean all the intricate areas on the car. I mean on: windows edges, car emblems and grills, the area around windscreen wipers, gas tank cap, etc.
Soak the brush with water, and start agitating those areas. Remember to let the brush do its magic, and don’t use a lot of pressure. Don’t use the brush on the paint, it could scratch it.
Long story short, clean all areas that you can’t adequately clean with a microfiber wash mitt. This step only takes 2-3 minutes.
8. Rinse The Car
By the time you finish cleaning with a detailing brush, snow foam has done its job, and 99% of the dirt is loosened up and ready to rinse off.
Use a pressure washer and thoroughly rinse off the car. Don’t rush here since the next step is contact wash, and if there are any larger specks of dirt left on the paint, you may grind it to the color and cause swirl marks.
In this step, make sure to open the car doors and wash the door jambs. Some people claim that it’s part of internal car cleaning, but I always do it when I’m cleaning the exterior of my car. Just make sure not to soak the interior.
9. Wash The Car With a Soap
Now it’s time for a contact wash with soap and wash mitt. Contact wash will remove any left dirt and film, and you’ll get a 100% clean car.
You’re going to need: 2 buckets with grit guards, car wash soap, and a microfiber wash mitt for this step.
Here are quick steps on how to do it:
- Pour plain water in one bucket, and mix soap and water in another one.
- Soak the microfiber wash mitt into the soap bucket.
- Start cleaning the car from top to bottom, one panel at a time.
- After every panel, clean all the dirt from the wash mitt by pouring it into the bucket with plain water and then soak it into the soap again.
- Only wash in straight moves. Never make circular motions.
- Please don’t use too much pressure. Let the wash mitt and the soap do the job.
- When you’re finished with all the panels, please pay attention to details and wash them too (door jambs, gas tank cap, etc.).
If you have plenty of bugs on your car that you can’t remove, here are 3 steps to remove bugs from your car.
When you’re finished with everything, rinse the car once more. When rinsing the vehicle, make sure to wash everything thoroughly. You don’t want a wash soap to dry on the paint. Now, your car should have a clean and smooth color.
10. Dry The Car Using Microfiber Towel
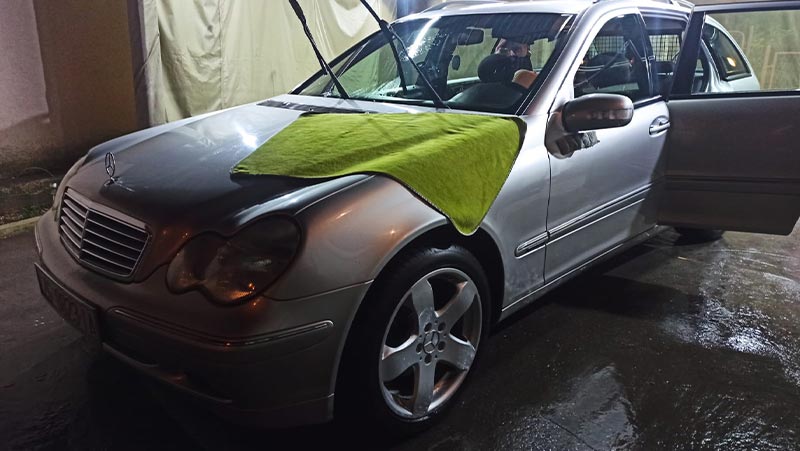
After the final rinsing of the car, you should dry it as soon as possible.
For this, I suggest you use a high-quality microfiber drying towel. These towels are thick and have a high GSM. Drying towels can soak a lot of water, and you’ll mostly be able to dry the whole car by only using one drying towel – without squeezing it.
Start from top to bottom, and thoroughly dry the whole car. Add as little pressure as possible. The best option is to only drag the towel on the paint and let the microfibers pick up all the water from your car.
When you finish drying the car, you’re ready to proceed to the last step, which is window cleaning.
11. Clean The Windows

As I said, cleaning the windows is the last step of washing the exterior of your car. Car windows aren’t hard to clean, but you need to follow some guidelines to get perfect clarity.
To clean car windows, you’ll need a high-quality car windows cleaner such as this GYEON Quartz Q²M Glass, 2-3 microfiber cloths for glass cleaning (waffle), 2-3 standard microfiber towels for buffing the glass.
Quick steps:
- Spray window cleaner on the glass, and clean the glass with a waffle microfiber cloth.
- Make sure to clean the whole area and only make straight motions. Remember to go in all directions when cleaning (up-down, left-right).
- Buff the windows with a clean microfiber towel to remove the excess cleaning solution and prevent streaks.
- I usually start with the windshield and then proceed to the windows.
- When you’re cleaning door windows, open the doors and clean both inside and outside windows.
If you need a detailed how-to guide, check out my article How to Clean Car Windows Like a Pro.
12. Apply Tire Shine
Applying a tire shine product to the tires will give them a like-a-new look and protect them against UV rays and heat.
Take an applicator pad, pour some tire shine (preferably some gel) on it, and apply it to tires by buffing it into the rubber.
That’s an effortless procedure, and it’ll take less than a minute per tire.
13. Apply Protection For Your Paint
Protecting your car paint is an essential tip to keep it in good condition for years. Paint protectants (waxes, sealants, and ceramic coatings) bond to the color and protect it from external factors such as Sun, UV Rays, heat, rain, etc. They also make your car easier to wash next time.
Together with protection, your car will get a beautiful glossy look and shine.
If you’re not entirely familiar with car waxes or other protectants, I suggest using some spray wax. It’s the easiest solution and will offer your vehicle essential protection and shine.
Quick guidelines for applying spray wax:
- Spray some product on the panel (1 panel at a time)
- Wipe it and spread it evenly on the panel by using a clean microfiber towel
- Use another clean microfiber towel to buff it out
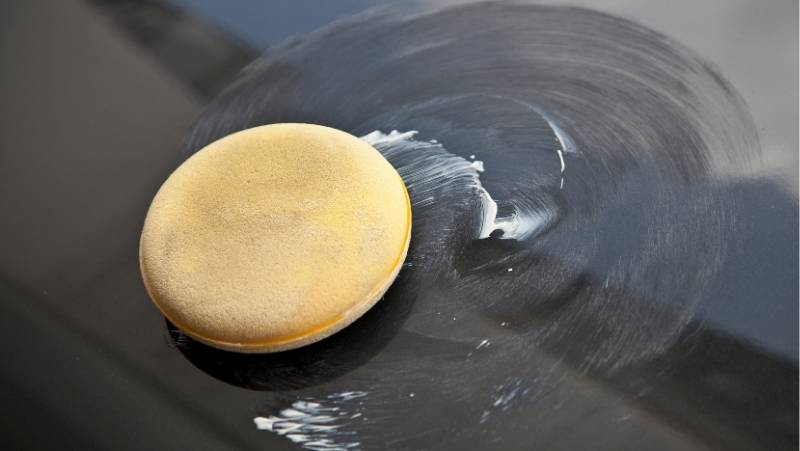
Quick guideline for using a paste car wax:
- Apply a small amount of wax to a foam polishing pad
- Buff on the paint using circular motions and let it stay for a few minutes
- Use a clean microfiber towel to remove the excess
Make sure always to follow the manufacturer’s guidelines. That way, you’ll apply the protection properly.