How To Wax a Car by Hand: A Quick Guide
Car Detailing Planet is a part of Amazon Associates. As an Amazon Associate, we earn from qualifying purchases. Read our Affiliate Disclosure to learn more.
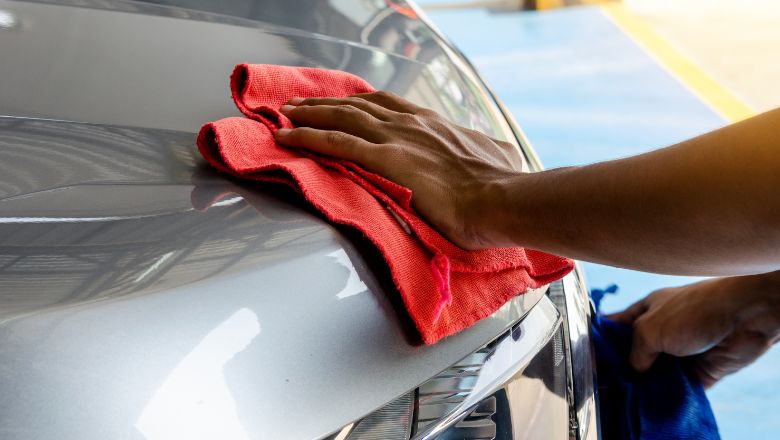
Waxing a car isn’t as simple as “wax on, wax off”, as you can see in Karate Kid movies, but it’s not complicated either. I always follow the same process, and in this post, I’ll show you how to wax your car by hand.
Prepping The Car For Waxing
I’ll try to be as direct as possible here. There are a few prepping steps you should do prior to applying wax to the car. So, here they are:
- Wash the car. By washing the car, you’ll remove any dirt and debris that’s sitting on the paint. If you don’t know how to properly wash your vehicle without causing scratches, check my guide on washing the car.
- Decontaminate the paint. Another important prep step is to remove any paint contaminants from your car that won’t go away with a typical washing. This is called claying, and here’s my guide on how to do it quickly.
- Polish the car. This isn’t essential, but if your car has swirl marks and scratches on the paint, you should get rid of them prior to waxing. If you don’t know how to do it, check out my guide on paint correction.
- Work out of direct sunlight. The last preparation step is to keep the car out of direct sunlight when waxing a car. So, make sure to prepare some areas where you’ll work. If you can’t avoid sunlight, wax your car earlier in the morning or later in the evening while temperatures are still lower. Furthermore, before waxing your car, make sure that the car is completely dry.
Step-By-Step Guide on How To Wax a Car By Hand
Okay, now that you know all the preparation steps you should do, let’s see which equipment you’ll need and how to wax your car properly.
What You’ll Need:
As I already told you, you don’t need a lot of tools and equipment to wax a car. All you need is the following:
- Automotive car wax
- Applicator pad (make sure to use clean applicator pads)
- A few soft microfiber cloths
And that’s all. The most basic tools you’ll need. With these tools and equipment, you’ll be able to get an extremely shiny and glossy car that’s protected from harmful elements.
Step 1: Apply The Wax on The Car
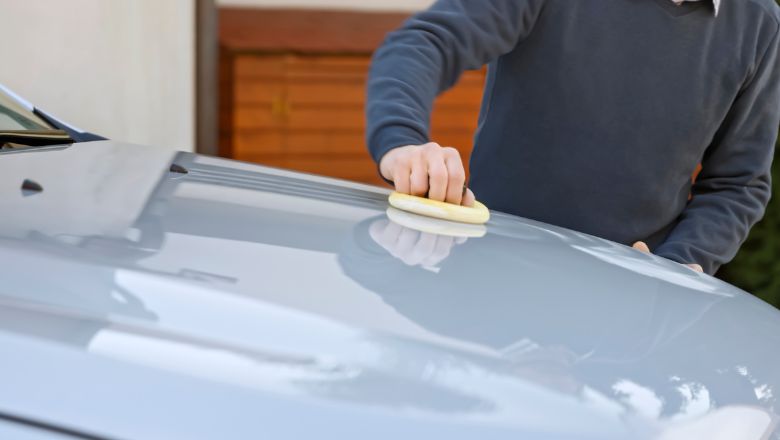
Before applying wax, read the instructions on the packaging. Even though general steps are always similar, there may be some differences between various companies. Also, avoid waxing headlights, taillights, and glass surfaces.
Pour a few drops of wax on the pad (or dip the applicator pad into the wax if you’re using a paste wax) and apply it to the car paint in circular motions. Don’t apply a lot of pressure, and only apply a thin layer of car wax to the paint.
Make sure to spread the wax over the car thoroughly. I also suggest that you work in sections. I like to wax the front of the car first, and then I do the rear of the vehicle. That way, you’ll prevent the wax from overdrying.
Step 2: Let The Wax Dry
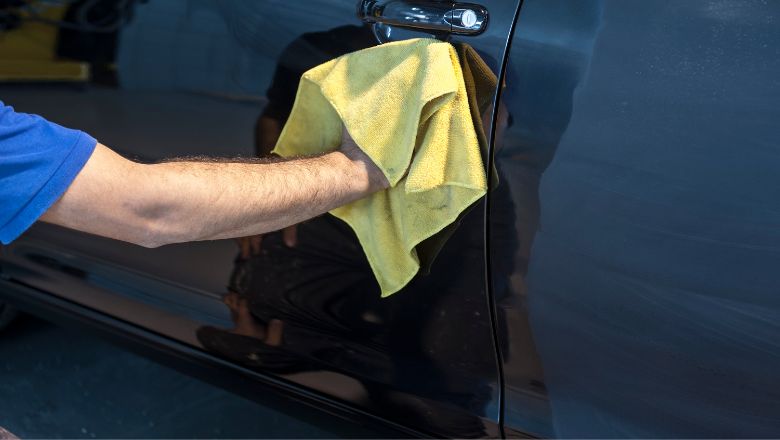
When the wax is applied to the paint, you should then wait for it to dry a little bit. That will allow the wax to bond to the clear coat on your car.
Each car wax will have specific instructions on how long it should sit on the paint, but it’s usually only a few minutes. So, follow the instructions on the bottle.
Step 3: Buff Out With a Microfiber Towel
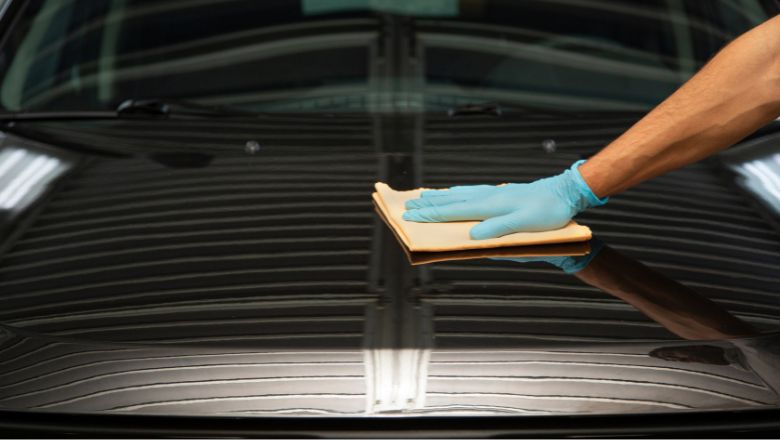
After the wax is dried, it will look kind of hazy, and then you need to buff it out by using a clean and soft microfiber towel. Buffing it out will remove any excess wax from the paint and make the car look shiny and glossy.
Just take a microfiber towel and buff the car in circular motions without applying too much pressure. You’ll probably need 2-3 towels to buff the whole vehicle because you should turn the towel to the clean side after buffing each panel.
Common Mistakes To Avoid When Waxing Your Car
I just wanted to quickly mention some common mistakes that I was making in the past, and these should be avoided if you want to get the best results when waxing a car.
- Applying a wax in direct sunlight or on hot panels.
- Not properly cleaning and drying the car.
- Using too much wax can lead to buildup, and you won’t be able to buff it out.
- Not following the manufacturer’s recommended wait time.
- Using low-quality and dirty applicators will leave debris and may even damage the car finish.
- Applying wax to plastic or rubber surfaces. It can cause discoloration and even damage them.
- Not removing the old coat of wax before applying a new one.
Frequently Asked Questions
You can wax a car with a buffer, and that way, you’ll do the job much quicker. However, for most beginners, the easiest way is to wax the car by hand. That’s the cheapest and easiest way with the least risk of damaging the paint.
No, car waxes aren’t the best type of paint protection you can apply to your car. However, they’re the cheapest ones and offer the best shine and gloss to your car when compared to other forms of paint protectants, such as sealants, ceramic coatings, and paint protection films.
On average, it takes anywhere between 20 to 30 minutes to wax a car. It depends on the size of the vehicle, the type of wax you are using, and also your experience.
Most car waxes will last anywhere between 4 weeks to 5 months. Some of the best car waxes will last even up to 6 months.
No, car waxes won’t be able to prevent scratches on your vehicle. However, they may be able to prevent some minor swirl marks from appearing on the vehicle’s paint. Car waxes will protect a clear coat from harmful UV rays, bird droppings, acid rains, and other similar contaminants.
Yes, waxed cars are much easier to keep clean because wax creates a barrier between the clear coat and the environment. That barrier is hydrophobic, meaning that all the dirt and dust won’t stick to the paint, making your car easier to keep clean.
Bottom Line
Waxing a car is extremely simple when you follow the guidelines I have shown you above. With a bit of elbow grease, you’ll get a shiny car appearance that will get the looks from the street.
If you want the best results and longevity, make sure always to buy car waxes that are proven to work, and avoid buying some cheap waxes from dollar stores.
If you’re interested in other types of paint protection, make sure to check my article, which talks about the best types of paint protection.
Related:
