No doubt, using an extractor is the best way to clean car carpets, but it doesn’t mean that it’s the only way to do it correctly. In this post, I’ll show you two best ways to clean car carpets without a machine.
Also, I’ll skip explaining the part where you’re vacuuming carpets since that process should always be done prior to deep cleaning. Let’s see those ways!
Key Takeaways:
- One method of deep cleaning car carpets without a machine is by using a brush, carpet cleaning solution, and microfiber towels.
- Another way of deep cleaning carpets without an extractor is to use a drill brush, a shop vac converted into an extractor, and a fabric cleaner.
- Both methods work great, and you can expect fantastic results. However, if you do the same with an extractor, your efficiency and final result could be even better.
Method 1: Cleaning Car Carpets By Hand
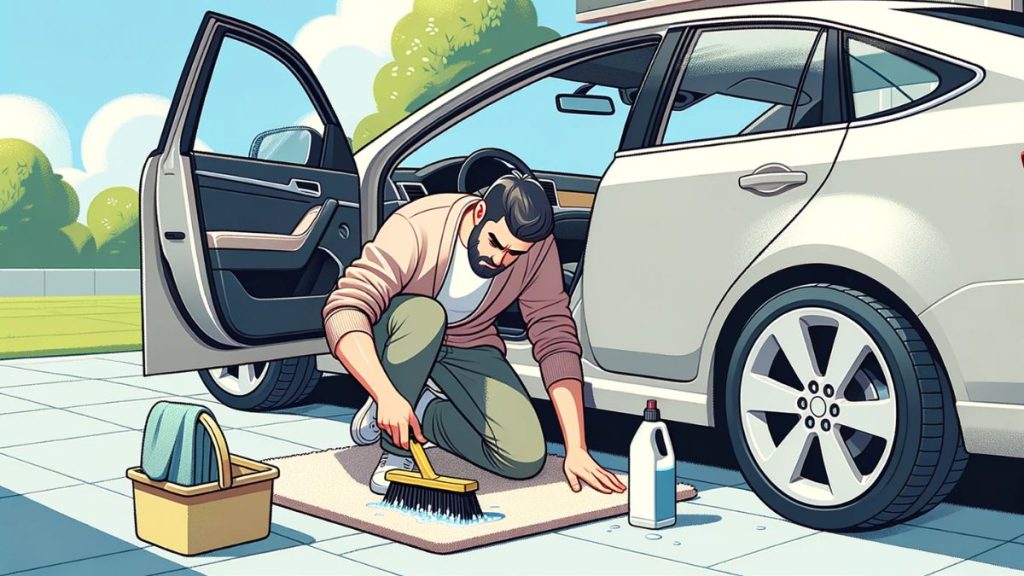
This method is for those without special equipment, such as a wet/dry vac or drill.
What you need for this method:
- Fabric cleaner – Any proven fabric cleaner (even the ones from the dollar stores may work fine).
- Spray bottle – you can buy it anywhere; you probably have some at home.
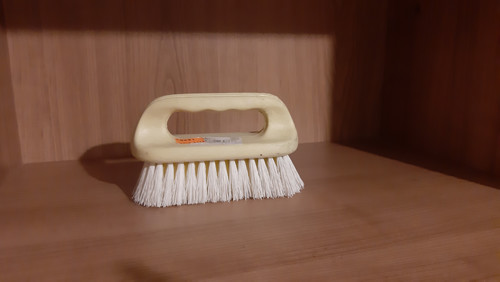
- Brush – Any brush that’s not too soft will be good.
- Microfiber cloth – few of them.
Spray The Carpet With a Cleaner
Mix a carpet cleaner with warm water in a spray bottle, making sure to adhere to the dilution ratios specified on the cleaner’s label. Every product is different, so take a moment to read the instructions thoroughly.
Once your solution is ready, generously spray it onto the carpet. If you come across particularly stubborn stains or areas with more dirt, feel free to apply an extra amount of the solution to tackle them effectively.
I recommend focusing on one area at a time to ensure thorough cleaning. For instance, begin with the driver’s side carpet, work on it until it’s clean, and then move on to the next section.
Start Brushing The Carpet
Once you’ve sprayed the solution, allow it to sit for 1-2 minutes so it can work its magic on the dirt embedded in the carpet. Now, arm yourself with a brush—it’s your tool to dislodge and lift that grime.
Start by gently agitating the carpet with your brush, ensuring that you cover every inch. Be thorough in your brushing, and don’t hesitate to go over the same area multiple times to ensure all dirt particles are freed.
For those stubborn stains that refuse to budge, give them a bit more attention by brushing those areas with added vigor.
Wipe And Dry The Carpet
After brushing, it’s crucial to remove the loosened dirt and any remnants of the cleaning solution from the carpet.
Grab a clean, dry microfiber towel for this task. Wipe across the entire carpet area, applying a bit of pressure to ensure you’re lifting all the dirt and any lingering cleaner residue. It’s essential not just to clear away the grime but also to dry the carpet as thoroughly as possible.
I know this step might require some effort and elbow grease, but it’s a vital part of the process. Your goal is to leave the carpet spotless, free from dirt, and devoid of any cleaning solution traces.
After wiping the carpets, you’ll probably see some spots that are still dirty. Repeat the whole process of cleaning those spots, and continue to the last step.
Let Carpets Dry
After cleaning and wiping down the carpets, it’s time to let them air out. I always make sure to open all the car doors to help them dry faster.
On a good sunny day, usually, the carpets dry in about 1-2 hours.
But remember, if it’s cooler outside or if you used a lot of carpet shampoo, it might take a bit longer. Be patient and ensure they’re fully dry before you drive again.
Method 2: Cleaning Auto Carpets With a Shop Vac and a Drill
This method is much easier, but it requires more equipment. If you have the equipment listed above, I recommend you try this method.
You’ll get better results in a shorter period of time. Also, you won’t be as tired as with method #1 since you will use the cordless drill for agitating the carpet.
What you’ll need for this method:
- Carpet cleaning solution
- Shop-vac (wet and dry vac)
- Cordless drill (it’s safer than corded)
- Brush and drill brush attachments – I recommend you to get these Holikme 20Piece Brush Attachments on Amazon.
- Spray bottle
Apply Fabric Cleaner on Car Carpets
Just as in method #1, dilute the cleaning solution according to the instructions on the bottle. Use warm water to get the best results.
Thoroughly spray the solution onto the carpet. You can use a bit more solution in this method since you’ll vacuum it later on.
Let it sit for a minute or two; it takes a bit for it to start working.
Agitate The Carpet With a Drill Brush
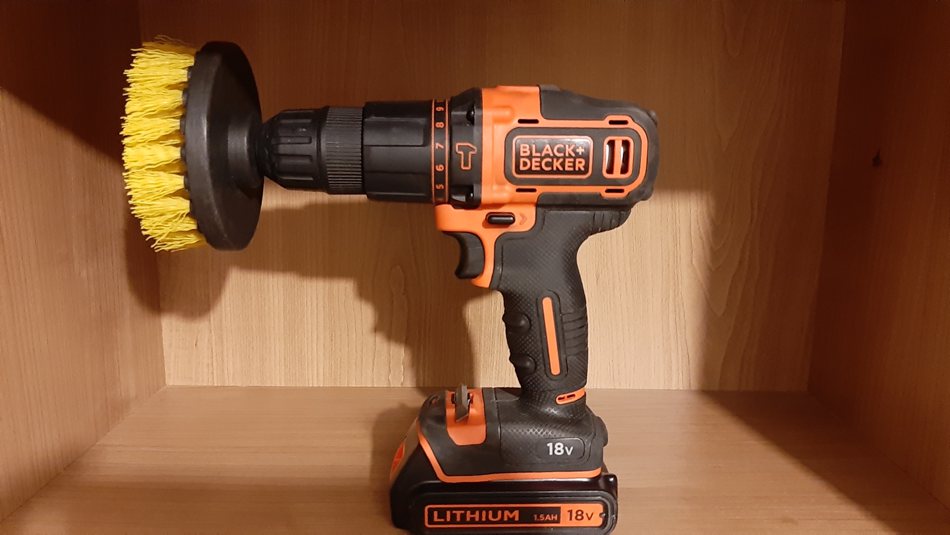
Attach the brush to your drill and thoroughly agitate the whole area. You don’t have to press it too hard. Always be gentle.
Make a few passes until you see that dirt is coming up to the surface. You should see some foaming in action. That way, you’ll know that you’re lifting dirt.
If no foaming exists, apply more cleaning solution onto the carpets and continue brushing.
Use a Hand Brush For Hard-to-Reach Corners
Sometimes, agitating the corners with the drill brush attachment is hard. And that’s when you should use a hand brush for cleaning carpets.
For me, one of the hardest areas to reach is the one behind the pedals. I think that there’s no way to reach them with a drill brush attachment.
Thoroughly agitate those areas, and once you’re finished, continue to the next step.
Vacuum (extract) The Carpets
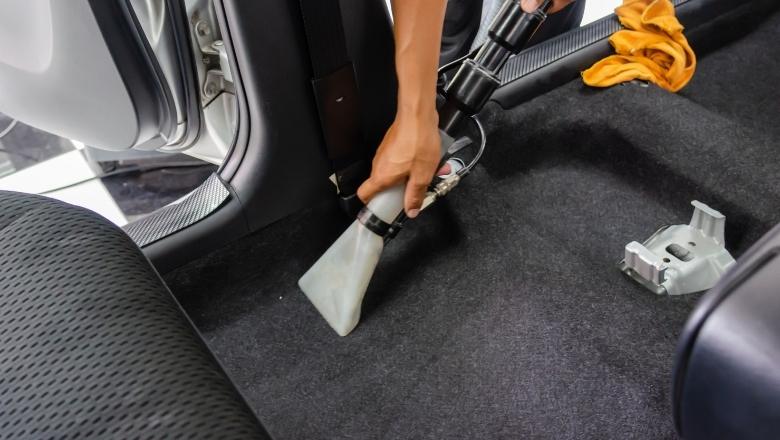
After all the scrubbing and cleaning, it’s time to get rid of the dirt and any leftover cleaning solution from the carpets.
Grab a wet and dry vac for this step. Give the carpets a thorough vacuuming; it not only picks up all the dirt but also helps in reducing the drying time.
While vacuuming, you might find the hose not quite up to the task after a deep clean. That’s why I went ahead and got myself a carpet extractor attachment for my wet and dry vac.
Trust me, it made a world of difference! If you can, I’d highly recommend getting one for yourself. The results? Simply amazing!
Repeat the Process For Dirtier Areas
For those super stubborn spots that just won’t budge, don’t worry! Sometimes, they need a bit more attention.
If you notice any particularly dirty areas, just go over them a few more times. Spray on the cleaning solution, give it a good scrub with the drill brush attachment, and then vacuum it all up.
I’ve had times where I had to go over the same spot 4-5 times because it was so grimy. Just stick with it and repeat the process until you get the clean results you aim for.
Let The Car Dry
Once you’ve finished cleaning and vacuuming, it’s time to let those carpets air out. Pop open all the car doors and let the fresh air flow in.
Typically, an hour or two is enough, but here’s a little trick I always use to be sure: I run my hand over the carpets, sliding it around. If my hand feels any moisture or dampness, I know that carpets need a bit more drying time.
It’s always good to double-check and ensure they’re completely dry before closing up the car.
Having Problems With Tough Stains: Use Resolve
As I said earlier, there might be some tough stains that you will have to pay more attention to. Coffee, oil, makeup, tint, blood – those are very tough stains, especially if they are there for a long time.
First, try repeating the whole process 3-4 times on those stains. It should clean them. However, if the stain is very old, it’ll probably be hard to clean. In this case, I recommend you use a Resolve.
Resolve is one of the best stain removers out there, and it will help you to clean the toughest stains from your carpet.

Just spray a bit of the solution onto the carpet, wait 30 sec, agitate with the brush (or drill brush attachment), and then wipe off with a clean microfiber towel.
BONUS TIP: Don’t Forget To Apply Fabric Protectants
After you have successfully cleaned car carpets, it would be a shame not to protect them.
As you know, the fabric is very easy to stain, and that’s why you should always protect it after cleaning.
The best way to protect car carpets is to use a fabric protectant.
Fabric protectants form a hydrophobic layer over the fabric, preventing it from soaking up the liquid and making it harder to become dirty again.
So, if you protect the carpets, it will be much easier next time you’ll be deep cleaning them.
Can You Get Better Results Than With an Extractor?
If you could get better results, then no one would even invent an extractor. We can agree with that, right?
I’ve tried deep cleaning both with and without an extractor, and I can tell you that no such thing could replace a dedicated carpet extractor.
However, I was amazed at the results I could get with the 2 methods shown above.
If your car isn’t dirty as f***, you’ll easily clean it without an extractor. You can accomplish that by maintaining your vehicle regularly.
Owning an extractor is great; if you can, I recommend buying it. Deep cleaning/extraction jobs will become much more efficient with the extractor.
How Long Does It Take To Deep Clean Car Carpets Without an Extractor?
In my experience, cleaning car carpets without an extractor could take you around 30-60 minutes (all the carpets, including the trunk), depending on your skills and on the dirtiness of the carpets.
As a complete beginner, it could take you an hour or two, but the most important thing is not to rush.
After you do it a few times, your time will improve a lot. At least that happened to me.
The Most Important Thing: High-Quality Carpet Cleaner
You know, when I just started doing deep cleaning cars, I thought I wasn’t doing something right. I always had problems with some tough stains, etc.
I learned that to get the best results, you need to have a high-quality carpet cleaning solution.
In the beginning, I would go to the Home Depot store and buy some house carpet cleaner. Even with that cheap cleaner, I would get nice results, but I was always expecting more.
When I first bought Chemical Guys Fabric Clean, I realized that if you want to clean carpets the right way, you should have the best cleaning solution.
Final Thoughts
Deep cleaning car carpets without a machine isn’t the easiest job out there. In fact, extractors were made to make cleaning much easier and faster.
If you want to buy an extractor, it can cost anywhere from $100 to $1000. I know it’s not a small investment, and that’s the reason why I wrote this article.
I’m using the two methods I explained above (I use 2nd actually), and I’m happy with the results so far. So, why wouldn’t you be?
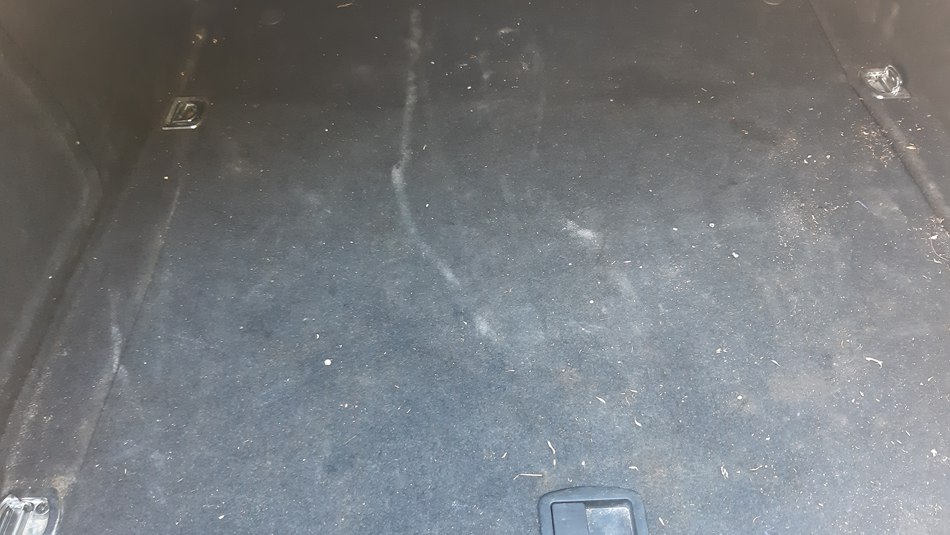
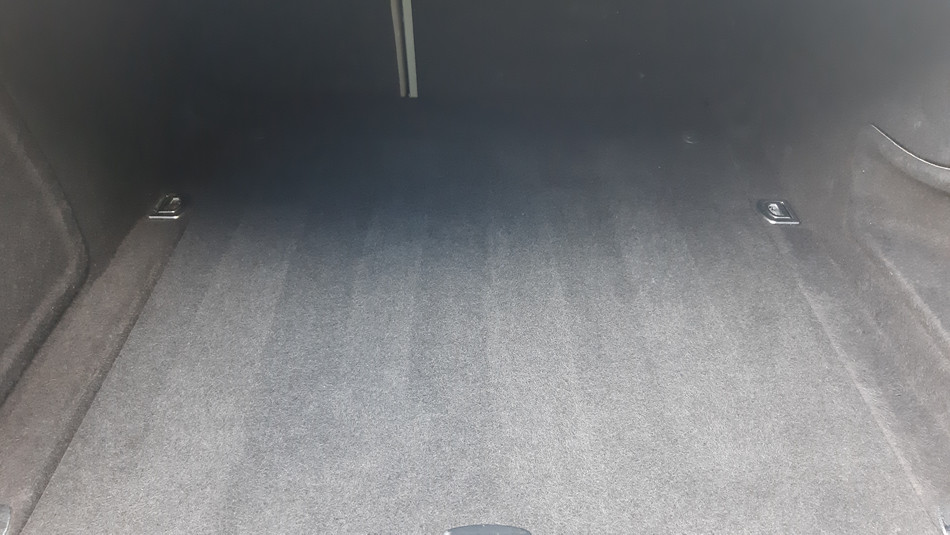
As you can see in the images above, it was a very dirty trunk carpet, and here’s the final result after cleaning it. I think it’s good enough since I didn’t use any expensive tools or something.
I know it’s not the best out there, but I wanted to show you a real-life example of shampooing automotive carpets without an extractor so you have realistic expectations.
Similar Articles: