Washing wheels and tires is a part of the exterior car wash, but I thought that having a dedicated guide might be helpful to you guys because this way, I can go much more in detail and explain to you all the steps I take when cleaning tires and wheels on my car.
Key Takeaways:
- Clean your wheels and tires to maintain their appearance and prevent damage.
- Use the two-bucket method to avoid scratching the wheels.
- Apply a wheel cleaner and scrub with a soft brush to remove dirt and grime.
- Use iron remover to remove brake dust (optional).
- Apply ceramic coating or some other wheel protectant.
- Apply tire dressing to protect and shine the tires.
7 Steps to Clean and Protect Wheels and Tires

Before we dive into the exact steps, I want to show you all the products and tools you’re going to need in order to do everything correctly.
Products for cleaning wheels and tires:
- Wheel cleaner
- Iron remover
- Car wash soap
- Tire dressing
- Wheel protective coating
Tools you’ll need:
- Hose or, even better, a pressure washer
- One bucket
- Few microfiber towels
- Microfiber drying towel
- Detailing brushes for wheels and tires
- Applicator pad
1. Initial Wheel Rinse

Let’s dive right in – start with a good rinse of your wheels to wash away any loose dirt or debris. It’s like prepping a canvas before you paint; you want to get rid of the bits that could scratch your wheels when you start the actual cleaning.
Grab your pressure washer and give the wheels, tires, and wheel wells a generous spray.
No pressure washer? No problem. A garden hose with a good squeeze at the end for extra pressure will do the trick just fine. The goal here is to make sure nothing gritty hangs around to cause scratches in the next steps.
2. Apply Wheel Cleaner
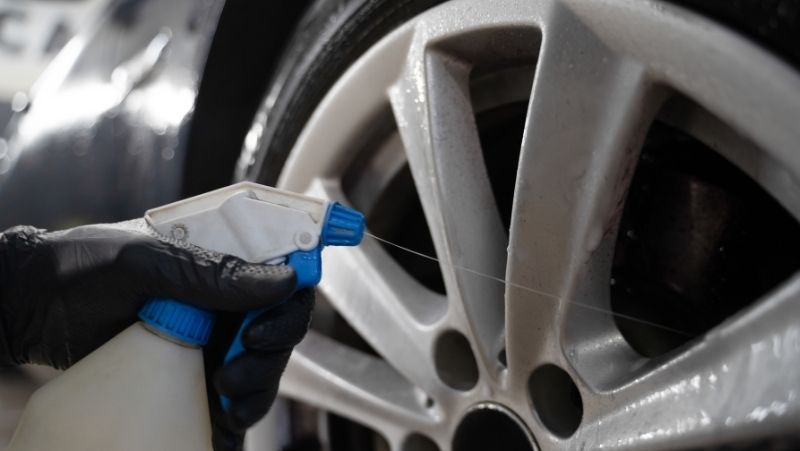
Once you’ve rinsed off the loose stuff, it’s time for the wheel cleaner to take center stage. My favorite wheel cleaner is Sonax Beast Wheel Cleaner. I’ve been using it for a few years now, and it cleans even the dirtiest wheels with ease.
I like to give the wheels and tires a generous coating. Let the cleaner sit and work its magic for about half a minute. This is your dirt-fighting ally – it’s going to loosen up all that stubborn grime, debris, and the notorious brake dust that just loves to cling to your rims.
If you want to check other cleaners I recommend, check out my five favorite hardcore wheel cleaners.
After those 30 seconds are up, you’re all set to move on. The heavy lifting (for the cleaner, that is) is done, and you’re ready for the next phase of the transformation.
3. Scrub with Brushes

It’s scrubbing time, and here’s a pro tip: employ the two-bucket method: one for your soapy water and another just for rinsing your brushes. This keeps your suds clean and your wheels scratch-free.
Fill one bucket with a good mix of water and car wash soap for a slick, protective solution, and have the second bucket with just water for rinsing off the dirt from your brushes.
You’ll need a variety of brushes – different sizes and lengths are your secret weapons to tackle every area. You’ll want a long brush for the wheel barrels, a stiffer one for the tires, a softer, long-handled brush for the wheel wells, and a delicate detailing brush for those tight spots.
Here’s how I do it:
Related: Best Detailing Brushes Sets
4. Wheel Decontamination
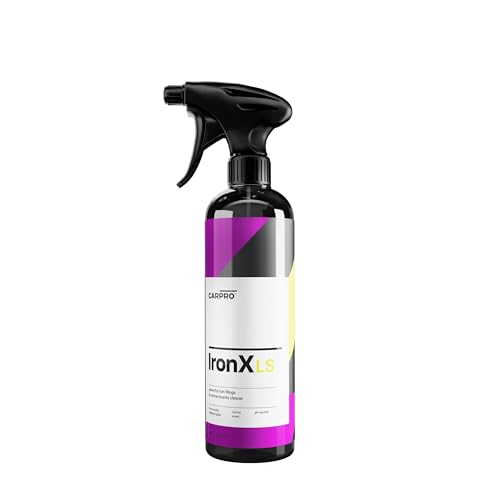
Alright, you’ve scrubbed and soaped, but for a truly deep clean, I swear by an iron remover: my go-to is CarPro IronX (check above). This isn’t your everyday step, but it’s a game-changer for getting rid of any lingering brake dust that’s really baked on.
Here’s how it works: after your wheels are clean, spray on an iron remover. Let it sit for about 30 seconds. You’ll notice it changing color to purple. That’s how you know it’s pulling all that stubborn brake dust out of your wheels.
Give the wheels a good rinse after this. You’ll be amazed at the difference it makes.
Remember, this step isn’t a must-do every time you wash your car. It’s optional but highly effective. For regular maintenance, your wheel cleaner and soap routine is plenty. I reserve the iron remover for a deep clean every couple of months or so, depending on how much I’ve been driving.
5. Wheel Protection
While there are many options out there, I personally vouch for GYEON Wet Coat (check above). It’s a breeze to apply right before you dry the wheels and does a stellar job.
Why do I recommend it? It’s a quick fix for long-lasting protection. A good wheel coating like this acts as a shield, repelling dirt and making your next clean a walk in the park. Plus, it holds up well, giving you about 2-3 months of that just-cleaned look.
Here’s how to do it:
- Spray the GYEON Wet Coat directly onto the wheel’s face and inner barrels.
- Grab your hose or pressure washer and rinse it off. You’ll notice the water forming tight beads and rolling off. That’s your sign of a well-protected wheel.
For those who are all about that top-tier, long-lasting protection, consider diving into the world of wheel ceramic coatings. They require a bit more elbow grease to apply than the Gyeon wet coat but trust me, the payoff in durability and protection is worth it.
6. Final Rinse and Dry
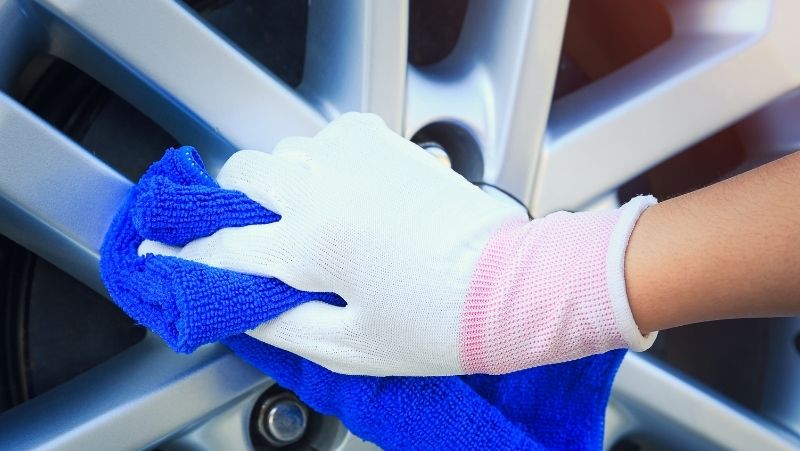
Now it’s time to do the wheels and tires’ final rinse and dry them. When rinsing them, you’ll see the water beads that I mentioned in the step above (if you used the same coating that I recommend).
You can dry them in two ways:
- With air blower
- With the microfiber towel
I usually use microfiber towels. They’re very absorbent and delicate on the wheels. However, drying it with the air blower is much quicker.
7. Apply Tire Dressing
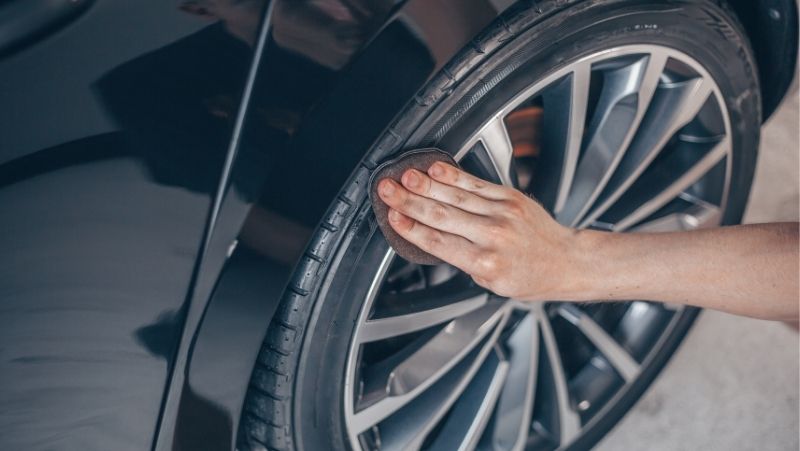
And now, the grand finale: dressing your tires. You’ll need a trusty applicator pad and a tire dressing that won’t quit on you. I’m partial to tire gels for their longevity compared to sprays.
Here’s a recommendation: GYEON Quartz Q2 Tire Dressing (check out my review for the full scoop). And while you’re at it, their wheel cleaner deserves a shout-out, too.
Tire dressing isn’t just for show; it’s a shield against UV rays and the rigors of the road, giving your tires that rich, just-bought look.
Shake your tire gel, spread a layer on the applicator pad, and work it into the tire’s surface. Once you’ve got an even coat, let it sit and bond – about 10 minutes should do the trick. This drying time is crucial for the dressing to fully set and provide lasting protection and shine.
After the dressing has dried, any leftover residue can be gently wiped away with a clean microfiber towel.
FAQ
This method works for all types of wheels except the matte wheels. If you have matte wheels, I recommend you check How to clean matte wheels.
Wash them whenever you’re washing your car. I recommend you wash your car once every two weeks. I usually do a maintenance wash every two weeks, and every two months, I do a thorough cleaning of my vehicle.
Most wheel cleaners will remove some of the brake dust, too, but using the specialized iron remover is much more efficient. As I said earlier, you don’t have to use it every single time you’re detailing wheels and tires.
Usually, I can wash and protect all the wheels and tires in 20 minutes. If you’re new to this, it can take a bit longer in the beginning.
I apply tire shine every time I wash them. Since wheel coating lasts longer than tire dressings, I apply it every 3rd time I’m detailing wheels.
Related:
